You can assign custom tags in different colours and assign them to registrants in your list(s) of registrations.
To use custom registration tags
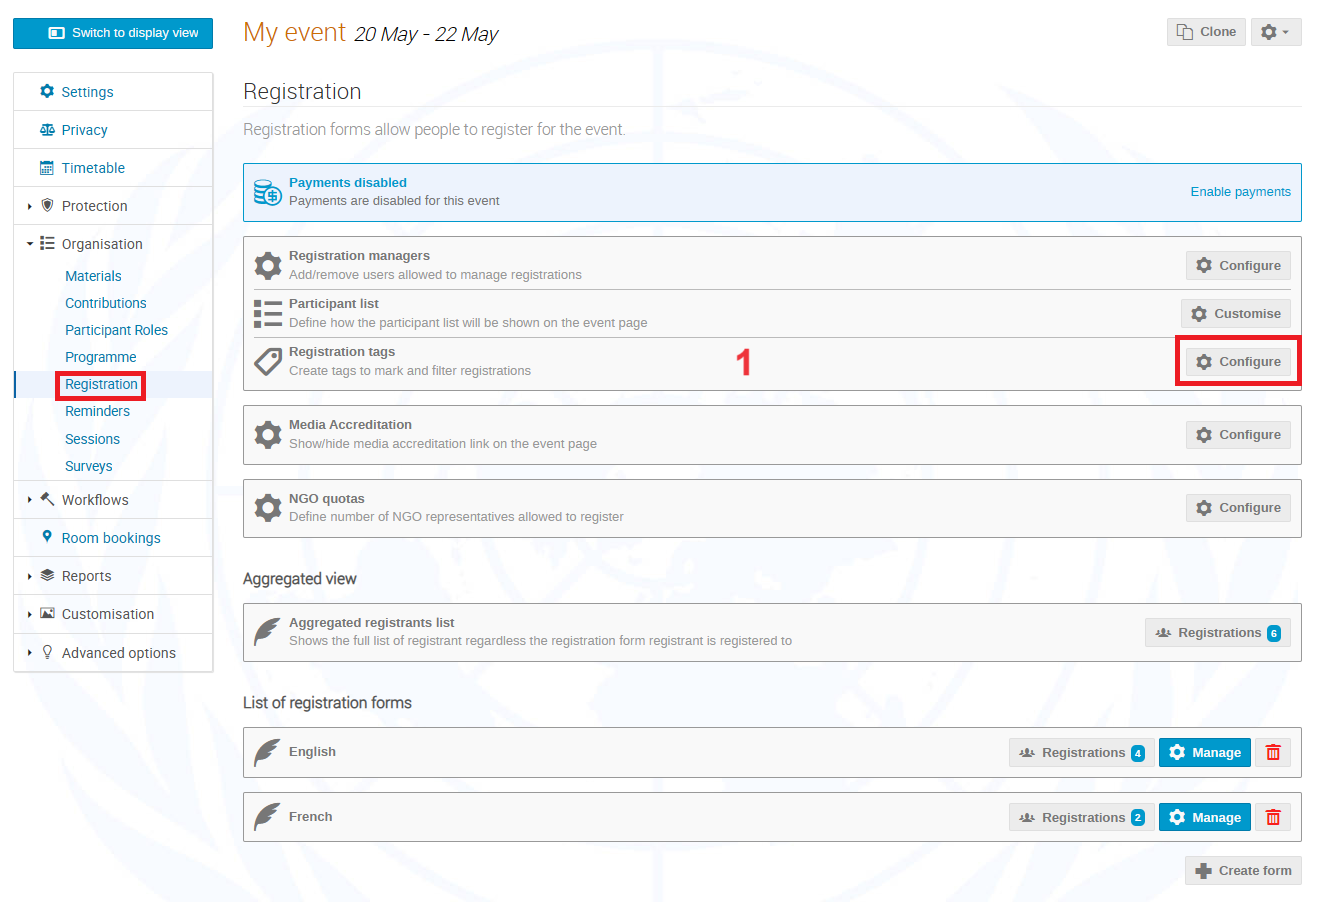
- From the left pane of your event management area, go to Organisation > Registration and click the Configure button in the Registration tags section.
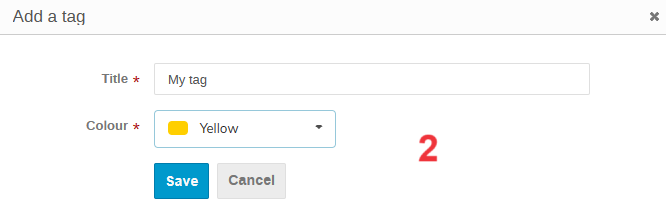
- To create a new custom tag, click Add a tag and provide the name and colour for the tag.

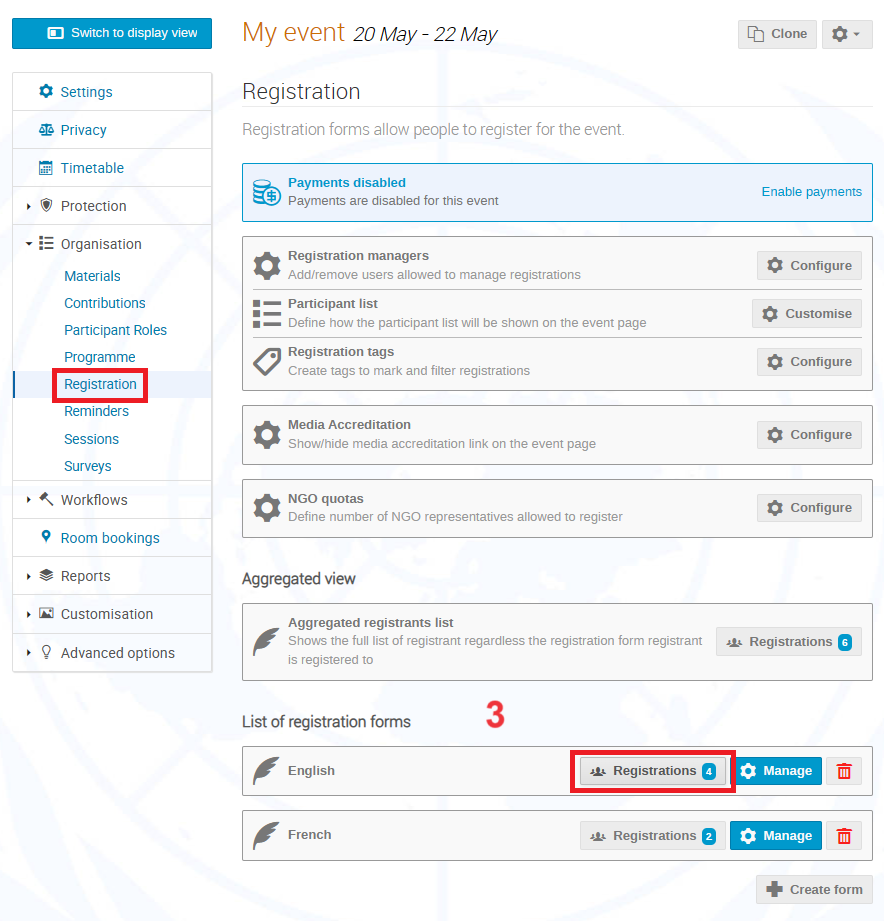
- To use the custom tag in one or more of your registration form, navigate back to Organisation > Registration and click Registrations next to the required registration form.
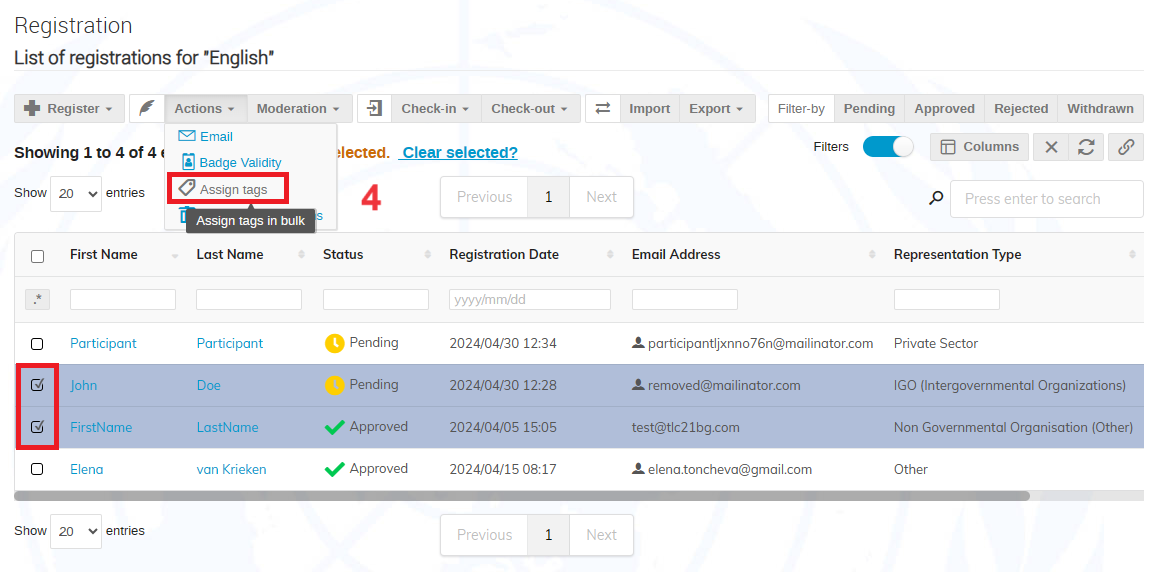
- Select the user(s) you want to assign the new tag to and click Actions > Assign tags.
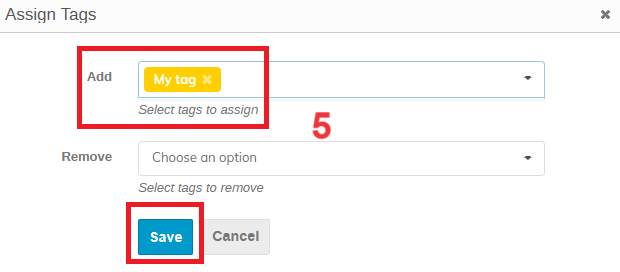
- From the Add dropdown list, select the new custom tag and click Save.
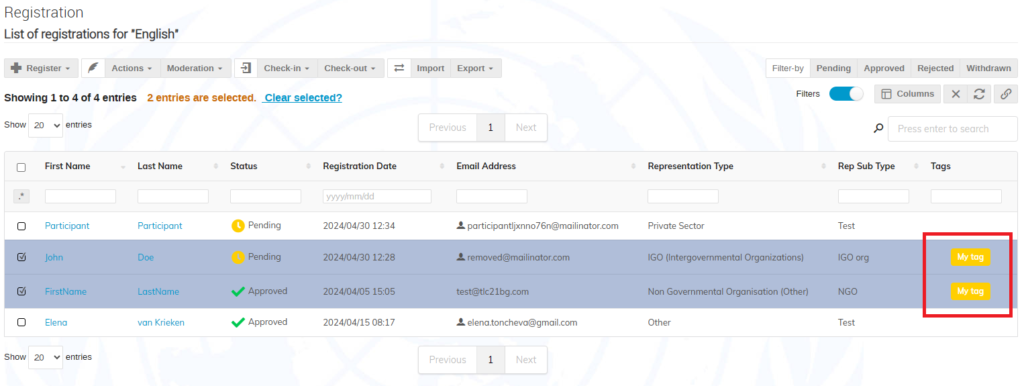
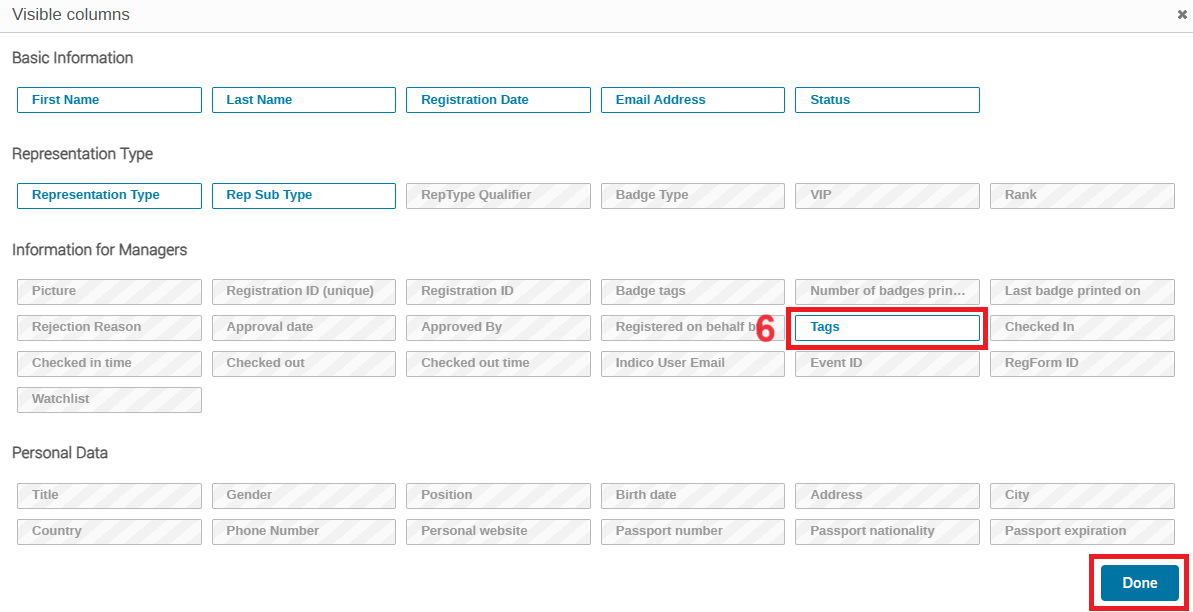
- To see the assigned tags in the registration list, add the Tags column by clicking the Columns button and selecting Tags in the Information for Managers section.

Once you add the Tags column, you will be able to see the registrations, which were assigned a tag: