Automatic Check-in (see further below manual check-in)
Normally, when an event has the setting “associate badge print to check-in” enabled, it means that when a badge is printed, a check-in time and date for the registrant is recorded automatically.
Managers should be aware that if they are using the LoP generated by Indico for an event the LoP, then a check-in of registrants is mandatory. No check-in data = not included on the LoP. Hence, the setting Associate badge print to check-in should be enabled on the event.

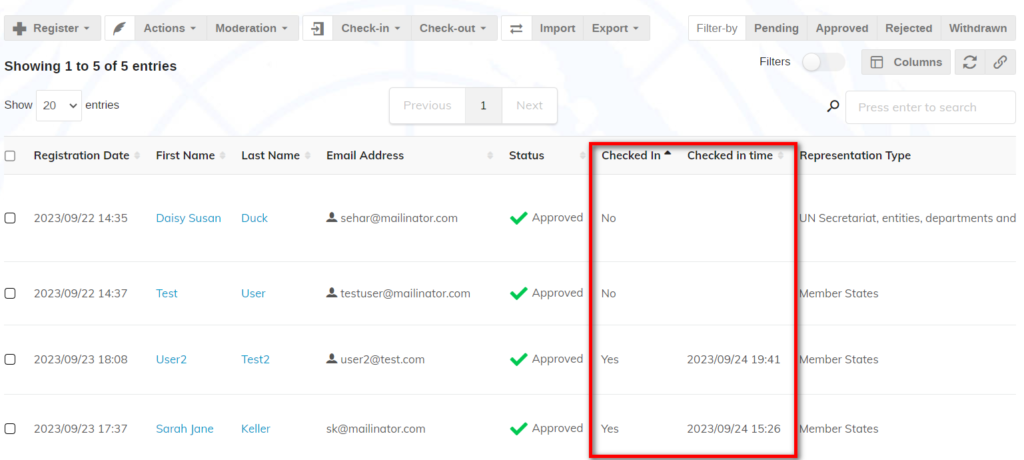
View a Registrant’s Check-in/out Information
Ensure the columns are displayed on the list by clicking Columns.
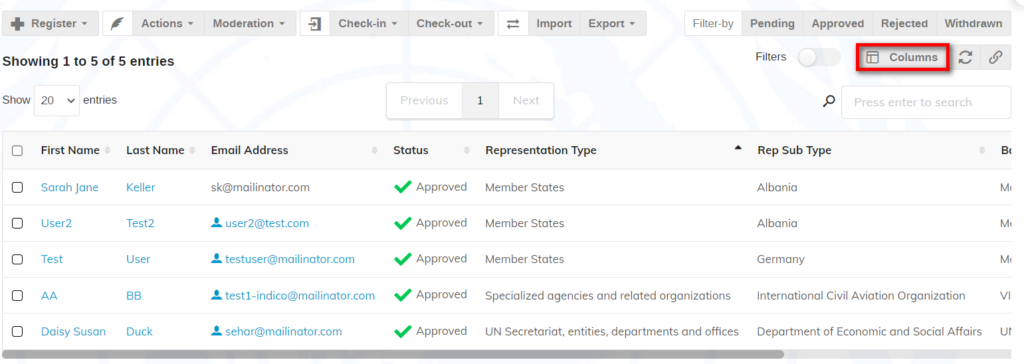
Select the check-in and check-in time options. Click Done to save.

The columns display on the list (remember, you may click, drag, and drop columns across the list).
Manual Check-in (not applicable to Focal Points)
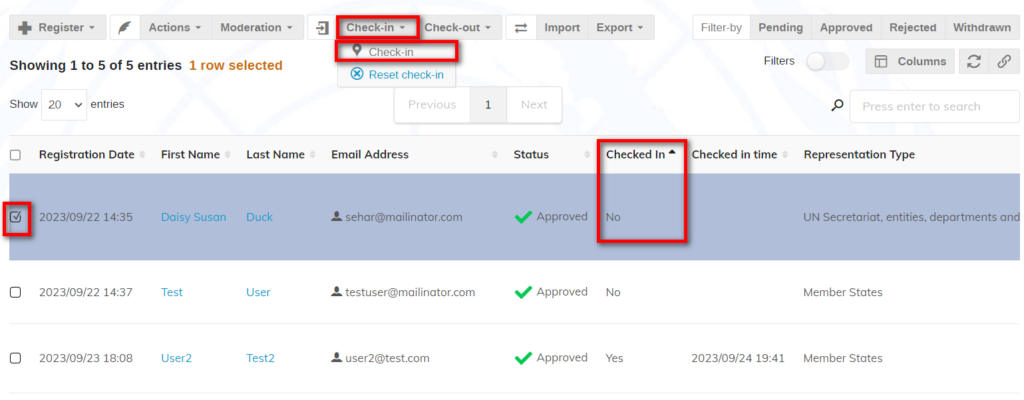
If the setting “associate badge print to check-in” is not enabled, Check-in may be performed manually.
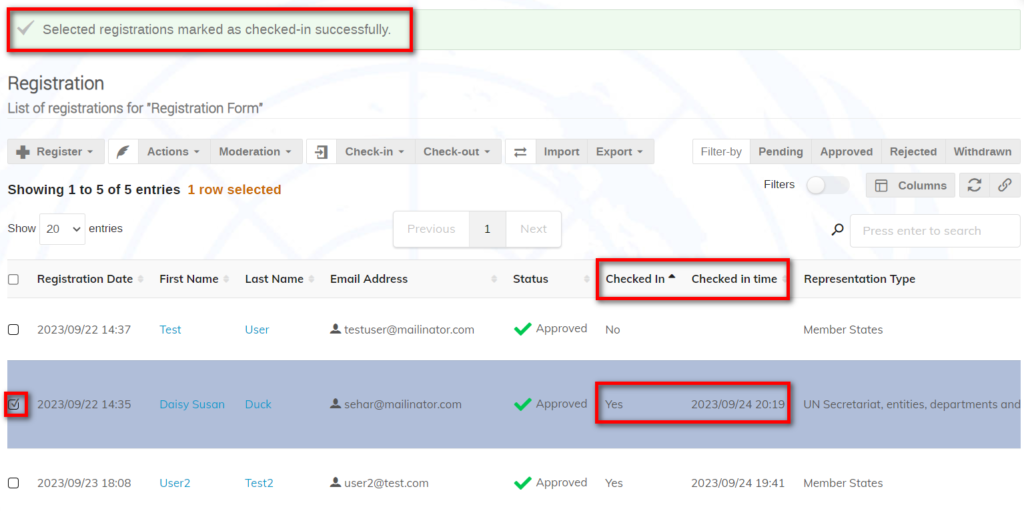
Select a registrant on the list. Expand the Check-in menu and select Check-in.
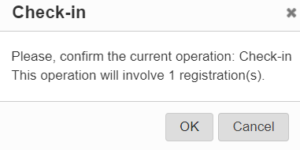
Confirm the check-in.
The information is recorded for the registrant.
Manual Bulk Check-in
More than one registrant may be checked-in at the same time. Select the registrants and follow the steps as outlined above.
If by mistake you select a registrant already checked in, their original check-in data will not change.
