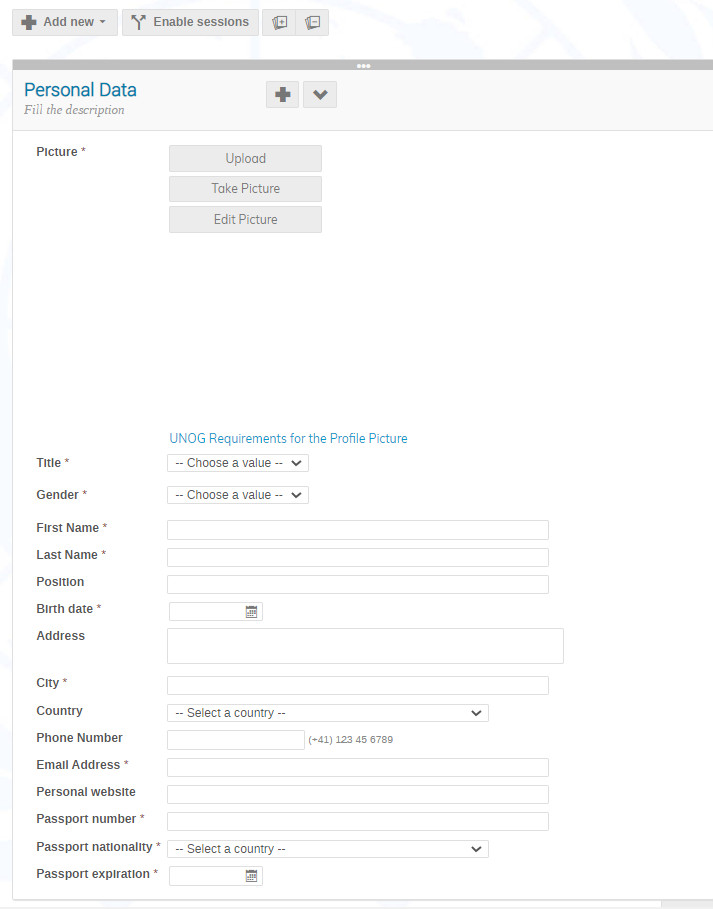
When you begin to configure a registration form, you only have the Personal Data section on display. The Representation Type section will appear on the form during actual registration.
The Personal Data section is set by default, and the fields in it have been determined by UNOG Security. These fields are applicable to events taking place at UNOG and or/managed by UNOG Security. Data required on registrants by UNOG Security are marked with * on the form.
For events not at UNOG or managed by UNOG security, this section may be adapted according to the organiser’s requirements.
SECTION MANAGEMENT
Add a new section
Click Add new
![]()
In the New section panel give the section a title. A description is optional but you may add some text to assist or guide registrants. Click Add.
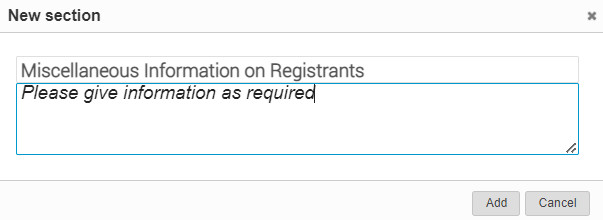
The new section displays on the form.
Move a section around the form
Click the “move” button then drag and drop the section to a new location.
![]()
Expand or collapse a section
Click the “expand” or “collapse” button in the section.
Disable a section
Click the “disable” button.
![]()
Recover a disabled section
Click Recover sections at the top of the form.![]()
In the Section Management panel click “Restore” beside the section to recover. If you want to remove the section completely, click Remove.
Rename a section
Click into the section title field. Enter the new title. Click the check mark to save.
To modify, add or remove a section description, do the same. Click into the description field. Modify, add or remove the text. Click the check mark to save.

Expand or collapse all sections on a form
Click the “expand all” or “collapse all” buttons at the top of the form.
![]()
Add an administrative section
An administrative section is a section only visible in the management area and is intended for use only by event managers. It does not appear on the registration form.
You create it and add a field (or several) in the same manner as a regular section for registrants.

It may prove useful in allowing managers to input additional information on registrants for back-office purposes.
To use the administrative section, on the registrant profile click Modify. Enter the data appropriate for the section and click Save.

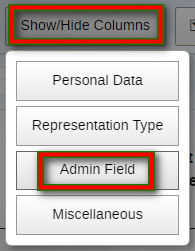
You may display the contents of this section on the registrant list by using the Show/Hide feature and selecting Admin Field. There, you select the field(s) in the section to display on the list.
FIELD MANAGEMENT

Add a field to a section
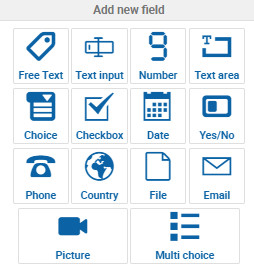
Click the “add field” button.
![]() There are several option to choose from.
There are several option to choose from.
Remove a field
Hover over the field and click the “trash” icon.
![]()
Disable a field
Hover over the field and click the “disable” button.
![]()
Configure a field
Hover over the field and click the “configure” button. A panel will give options according to the type of field you are configuring. Here, you may make fields mandatory and make modifications e.g. if it is a multi choice field, modify/add/remove items for selection.
![]()
Recover a field
At the bottom of the section, in the Disabled fields panel, click the check mark beside the field to recover.

Move a field
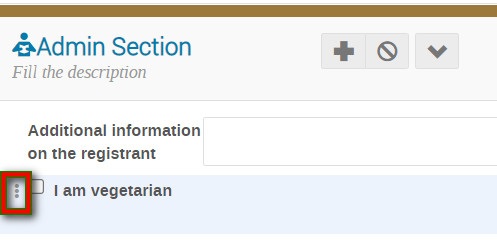
Hover over the field and click the “move” button then drag and drop the field to the new location in the section.
SESSION MANAGEMENT
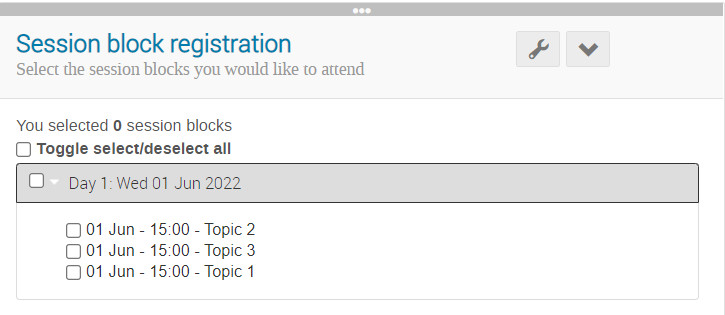
If your event includes sessions and you want registrants to make a selection for attendance, then click Enable Sessions at the top of the form.
![]()
This will automatically include a section based on the sessions included on the timetable.
 Refer to the article on setting up a timetable and sessions HERE
