Managers may customize the content of their Access Authorization Module (AAM) page and manage its admin settings e.g., assign focal points.
Go to https://indico.un.org/UNOG/
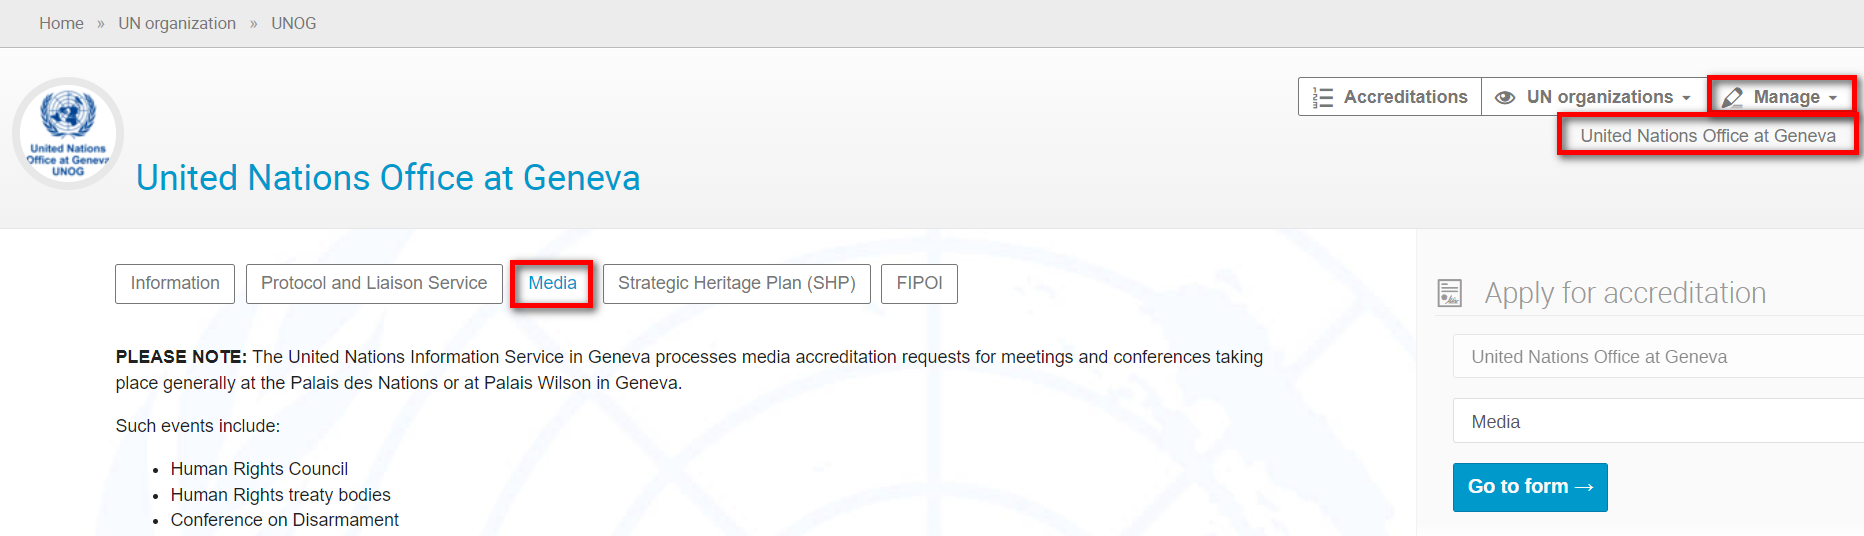
Select your office’s AAM page and when it opens on the right open the Manage menu and select United Nations Office at Geneva.
The management area opens. Expand your named office’s menu on the left and select Customizations. Here, on this one screen, you may customize the content of your AAM page and manage the admin settings.
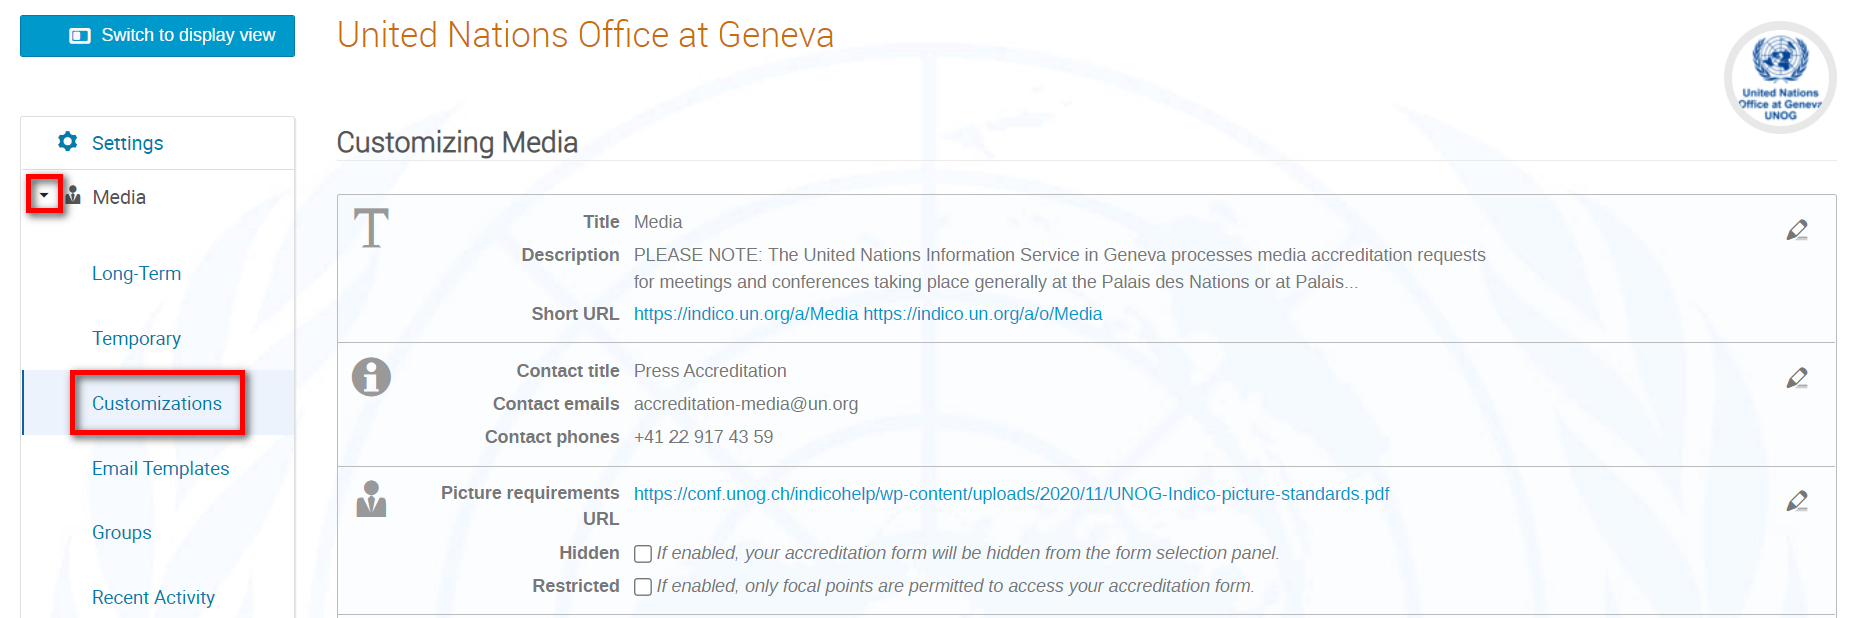
Customizing the AAM page
| Title: | The name of your office as it appears on the AAM main page as well as on several other interfaces (e.g., navigation pane, the title of the accreditation form, etc.) |
| Description: | Text to appear on your office’s AAM page. |
| URL Shortcut: | Enter a variable portion of the URL to reach the accreditation e.g., Media. The shortcut is not case sensitive. |
| Contact title: | E.g., CONTACT US. This appears on your office’s AAM page and on the common section available on the right side of each accreditation request |
| Contact e-mails: | This appears on your office’s AAM page and on the common section available on the right side of each accreditation request. More than one e-mail address may be listed. |
| Contact phones: | A number at which queries may be received. More than one phone number may be listed. |
| Picture requirements URL: | A link to appear under the Picture field on the request form. |
| Hidden: | If enabled, all users who land on your AAM page will not be able to see and access your request form. |
| Restricted: | If enabled, only focal points you authorize are able see and access the request form on your AAM page. |
| Manager Notification: | Check the box to enable notifications for managers when requests are approved, modified, rejected, or placed on hold. |
| Notification Subscriptions: | If enabled you may select up to 3 actions upon which others who are not managers (e.g. Focal Points) may receive a notification i.e. when a request is created, modified or has its status changed (e.g. approved, withdrawn, etc.) |
| Notification e-mails: | Enter addresses to receive e-mails when requestors/focal points click Reply To in a notification. The first e-mail address is used by default. If more e-mail addresses are listed, when sending e-mails to focal points and requestors, managers can select any address from the list when to add to the Reply-to field. |
| Reminder: | Set up a reminder to be received by current badge holders when badges are due to expire. Note: Two reminders may be set at different time intervals before the expiration of the badge. |
| Reminder e-mail body: | Enter the text for the reminder. |
| Materials: | Upload useful documents e.g., user guides, important announcements, etc. to appear on request form page. |
Admin Settings
| Managers: | This displays the name(s) of all managers responsible for configuring and managing the office’s AAM and requests. A manager may assign another manager (user or a group*) under this setting. *A group must be created by the Sysadmin first for the manager(s) to search the group name and assign the managerial rights. For group creation please contact us. |
| Security Officers: | This field displays the name(s) of all security officers responsible for printing badges. Security officers are added under this setting as per duty station access. A manager may only assign Security Officer(s) (user or a group) under this setting. Security Officers may manage the request list, including all the available features (e.g., moderations, changing statuses, adding tags, sending e-mails, etc.). |
| Readers: | This field displays the name(s) of all readers. A reader may only read requests. They are unable to perform any actions, process requests or configure the module. A manager may only assign reader(s) (user or a group) under this setting. |
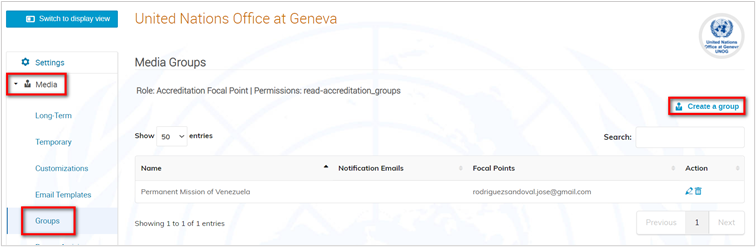
Groups
In the management area expand your named office’s menu on the left and select Groups. Here, on this one screen, you may create a group of focal points for e.g., a press agency, a Permanent Mission, company etc. and assign them rights to create requests on behalf.
| Focal point role: |
Focal points must have an Indico account. They may create requests on behalf of persons they work with who do not have an Indico account. Should a group include more than one focal point, each may view and act on any of the group’s requests. When a user creates his/her own direct accreditation, focal points may not act on that request. When a focal point creates a request on behalf of a user who has an Indico account, that user may act on the request submitted on their behalf. |
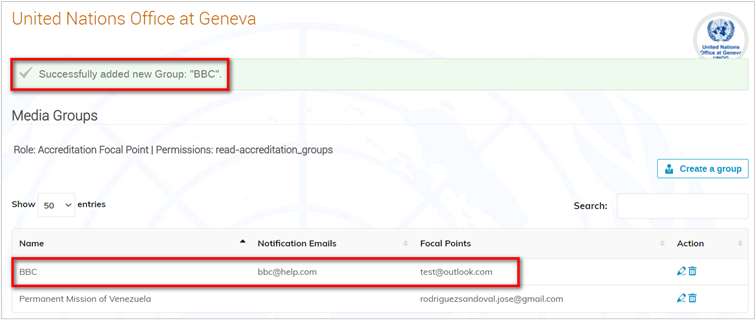
In the Groups window to the right click Create a group.
Complete the following fields:
| Name*: | Official agency, company, Permanent Mission etc. (e.g. BBC, PM of Albania. Mandatory) |
| Notification e-mail: | The official contact e-mail of the group. This address may receive e-mails in addition to the focal point(s). |
| Focal Points*: | This field displays the name of all focal points responsible for submitting requests for the agency. More than one focal point may be added (mandatory). |
Click Save.
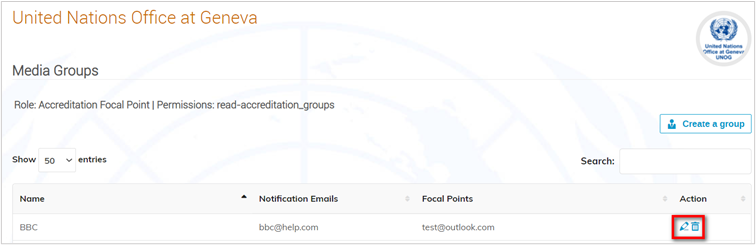
Edit or Delete an Existing Group
To edit, click the pencil icon beside the relevant group. Once finished click Save.
To delete, click the trashcan beside the relevant group. A confirmation message appears. Confirm the deletion.