The Access Authorization Module (AAM) may already include some default email notification templates e.g., for new request, approval, rejection, renewal etc. However, managers may opt to create their own.
Create a new e-mail template
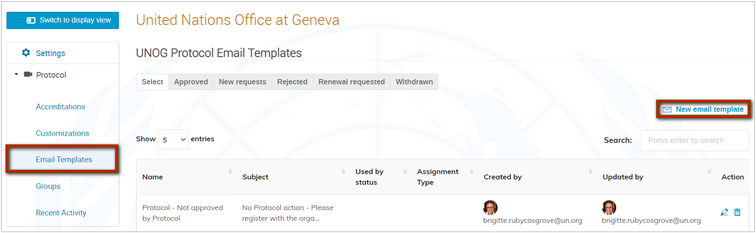
In the management area click E-mail Templates in the menu on the left and in the E-mail Templates window remove the existing email template that you want to replace with your own (click the trashcan beside it).
Click New e-mail template.
Set up the template as follows:
Name: Give the template a name as it is to appear on the list of templates for selection.
Subject: Indicate the subject matter.
E-mail body: Enter the text and insert placeholders to personalize the e-mail.
State: Select a status that will automatically trigger the e-mail i.e.,:
-
-
-
- Approved
- New Request
- Rejected (you may include a “reject reason” placeholder in the e-mail that will include the reason for rejection if you elect to have it included at the time of sending and one was given)
- Renewal Requested
- Withdrawn
-
-

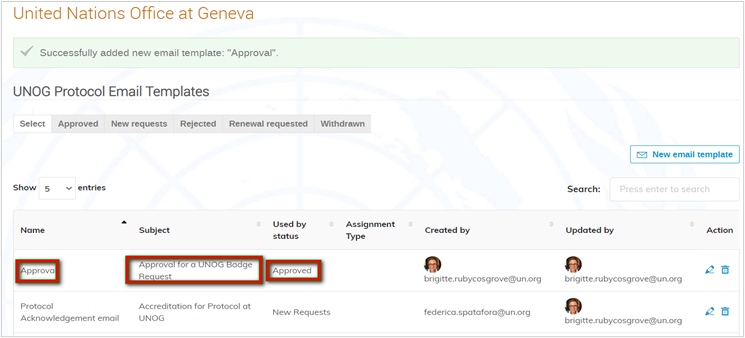
Click Save when finished.
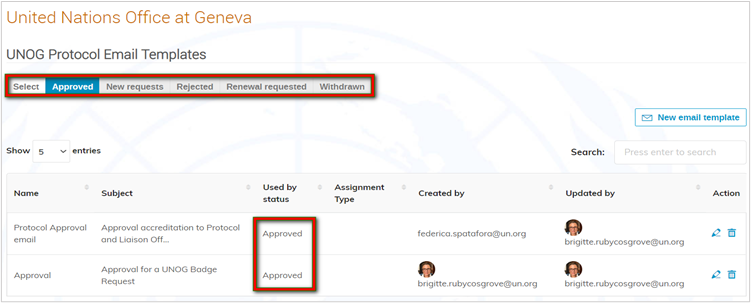
The e-mail template interface displays the new template.
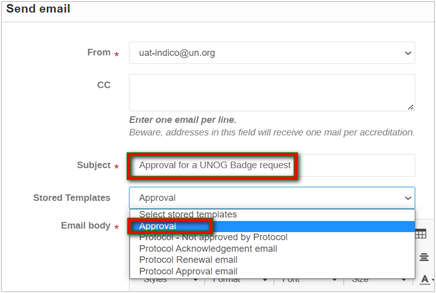
The e-mail is also included on the list of stored templates.
E-mail templates may be filtered by status. Select a status on the status ribbon to view what templates which have been created for it. The blue background behind a status label indicates the filter applied.
Edit or delete an existing e-mail template
To edit, click the pencil icon beside the relevant template. Once finished click Save.
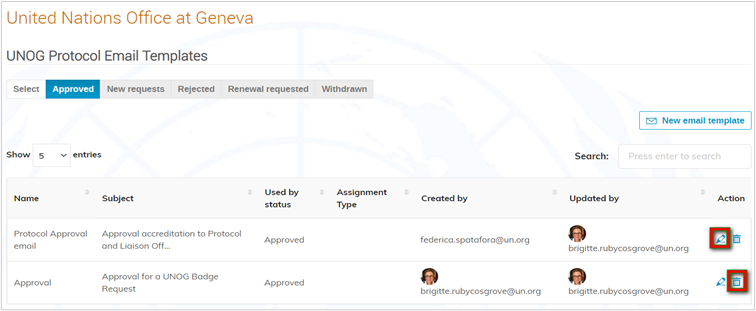
To delete, click the trashcan beside the relevant template. A confirmation message appears. Confirm the deletion.
Common reason
If there is repeatedly the same reason for which requests are being rejected or set on-hold, create a list of “common reasons”. Then, when you e.g., reject a request, rather than adding the reason manually each time, select it instead from a predetermined list of “common reasons”.
Create a reason for e.g. reject
In the E-mail Templates window scroll to the bottom and in the section Common Reasons click Add a new reason.

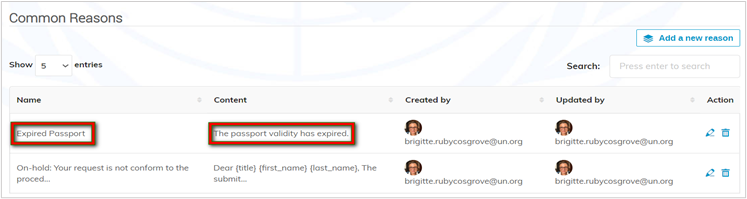
Give the reason a name and spell out the reason. Click Save. The reason is stored.

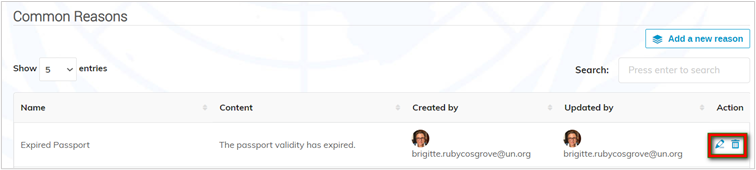
The section Common Reasons displays the addition of the new reason.
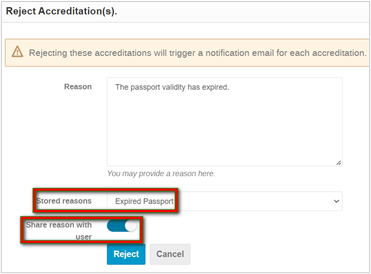
You may include a common reason in automatically generated e-mails e.g. reject. At the time of the rejection action, a reason must already exist on the “Stored reasons” list and the setting “Share reason with user” enabled. The placeholder {rejection_reason} must be included in the customized email template.
For ad hoc emails where you want to include a common reason e.g. on hold, simply create a reason as described. Then, when composing the email, manually include the placeholder {on_hold_reason} in the body of the email.
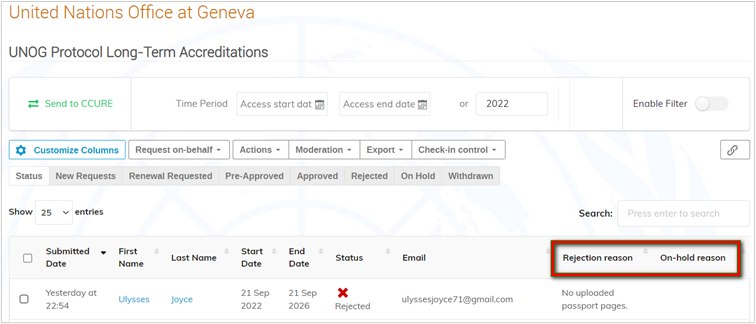
NOTE: Do not forget that it is possible to display columns on the request list that show Rejection and On Hold reasons.
Edit or delete a common reason
In the Common Reasons section:
- To edit, click the pencil icon beside the reason, make the changes and click Save.
- To delete, click the trashcan and confirm the deletion.