This article is intended for users who want to create independently their own ListFlow subfolder (and templates) for a specific LoP.
STEP 1 Data Source
NOTE: It is vital at the outset that you determine what information you will need on your participants for the LoP and ensure that the registration form contains fields to capture this information. For example, if you want the job title of a registrant to appear on the LoP then you should include a field “Job Title” on the registration form.
From the registrant list in Indico, download to xls your participants and save it. This xls file is your data source.
STEP 2 Sub Folder: Rep Type Docs and Main.docx
In the main Templates folder of ListFlow create a new sub folder and give it a name that will identify for which LoP it is specific to e.g. LOP UNCTAD24.
This sub folder should contain a series of Word docs each named after a rep type that will feature on the LoP e.g., Government.docx (the below visual demonstrates this). These Word docs are known as “rep type docs”. Create all the rep type docs you need.
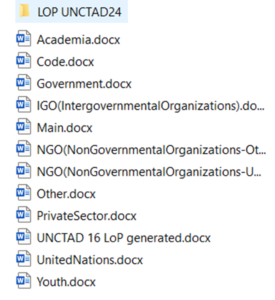
To this same folder you also need to include a Word doc in which you lay out the LoP’s cover page and determine the sequence in which the representation types will be listed when the LoP is generated. This Word doc should be named “Main.docx” (see section “Main.docx” below.)
STEP 3 Link Each Rep Type Doc to the Datasource
After creating all your rep type docs, from within each do the following:
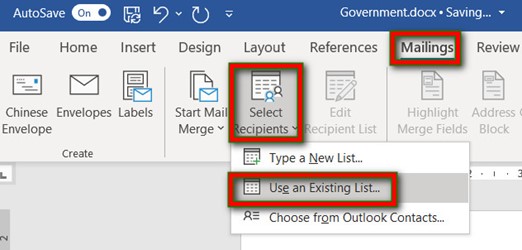
Click Mailings, then Select Recipients. Click Use an Existing List and navigate to the data source saved.
You will be asked to confirm the data source (click OK) and then select the table (click OK).
Click Mailings again and click Insert Merge Fields. Expand the menu. The options available correspond to fields on the registration form. Select and add (one by one) the appropriate fields corresponding to the data you want displayed on the LoP. Remember to add spaces between the fields, to add paragraph returns and formatting e.g., bold (if required).

Save and close.
Main.docx
Create a document and name it Main.docx.
On the Info page, enter a Title in line with the name of the sub folder it is in e.g., if you named the sub folder LOP UNCTAD24 then enter LOP UNCTAD24 as the title. This will help you select the correct LoP to generate later.

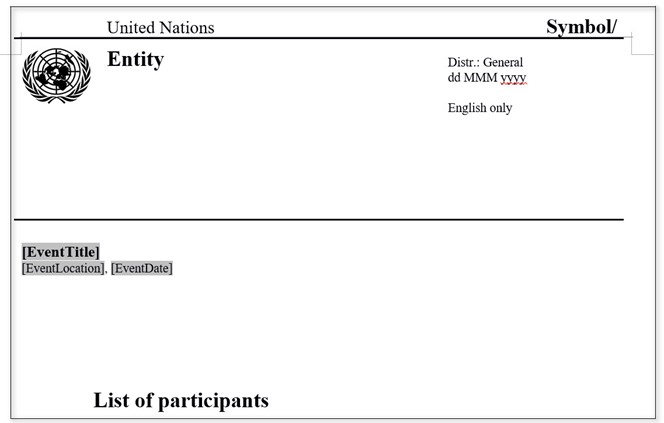
First, you should design the layout of the cover page and when doing so, include three event details fields i.e., EventTitle, EventLocation and EventDate. When you run ListFlow later you will be asked for this information and it will appear on the cover page wherever you have placed these event details fields (see below example).
How do you add an event details field?
Place the cursor on the page where the field is to be inserted. Then, from the Developer menu expand the Legacy Tools menu and under Legacy Forms select Text Form Field.
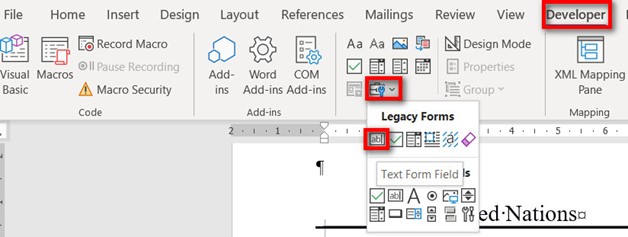
A grey shaded text form field displays. Click INTO the form field to expose the Text Form Field Options window.
In the Default text: field enter either EventTitle, EventLocation or EventDate as appropriate. The text must be enclosed by [ ]
In the Bookmark: field enter the same text but without [ ]
Click OK.
Do this for each of the three event details fields you add.

Order of display
After designing the cover page, enter a page break then list the representation types in the order in which you want them displayed.
Under each rep type listed, enter the exact name of the corresponding rep type doc you created. The name of the rep type doc must be enclosed by the symbol # on either side. See the below example.

Save Main.docx and proceed to launch ListFlow.