Create a Tag
In the management area click Organisation followed by click Registration.
Beside Registration tags click Configure.

Click Add a tag

In the Title field enter a text for the tag and a display color. Click Save.
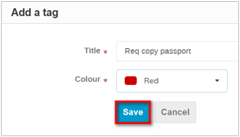
The tag appears on the list of tags.

Display the Tags column
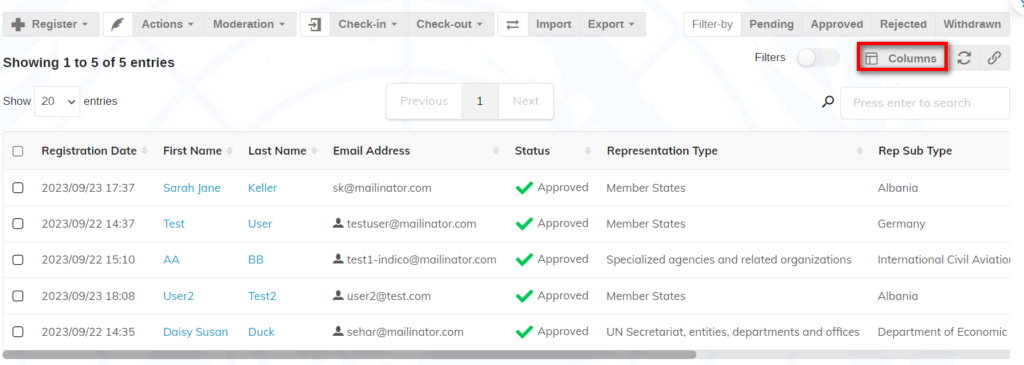
If not already visible, display the Tags column. Click Columns.
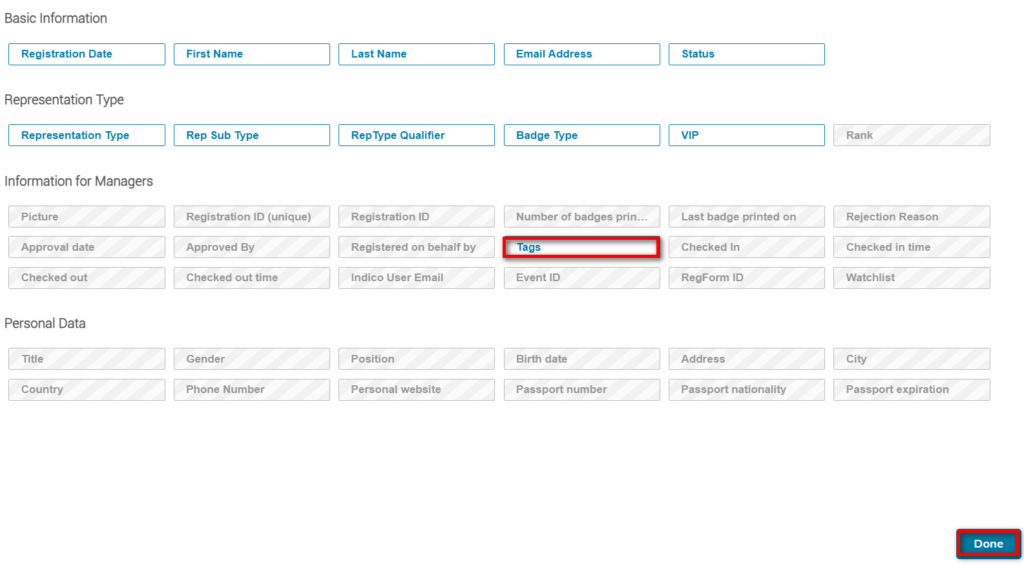
Select Tags and click Done.
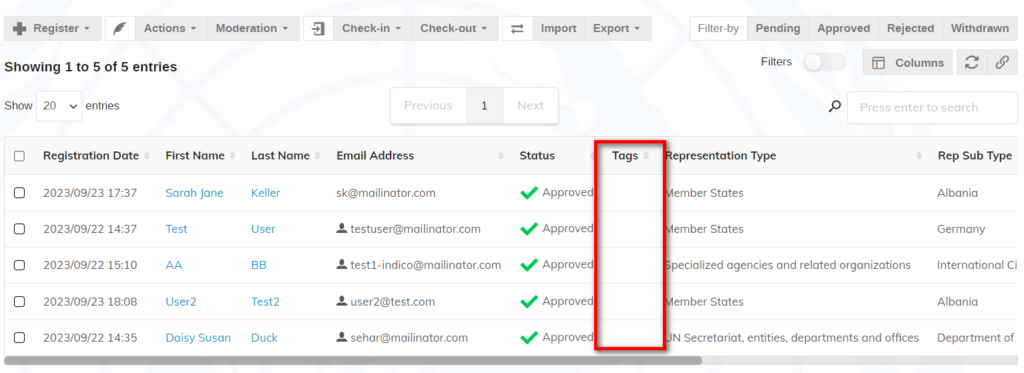
The Tags column displays.
Assign a tag
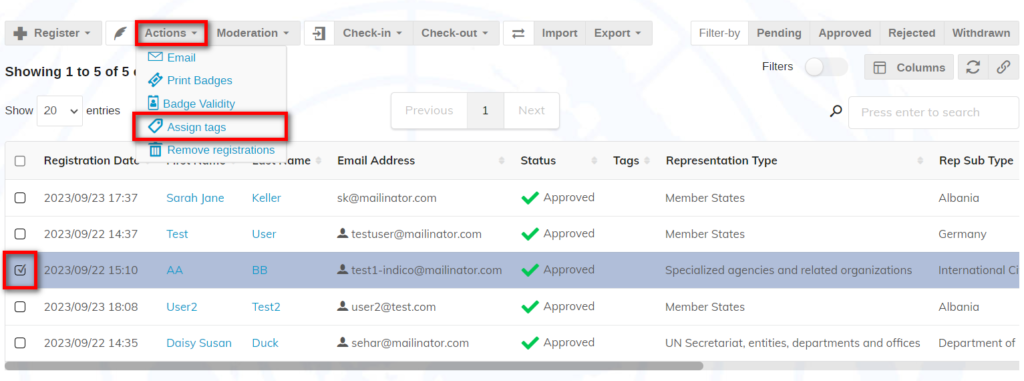
Select a registrant. Expand the Actions menu and select Assign tags.
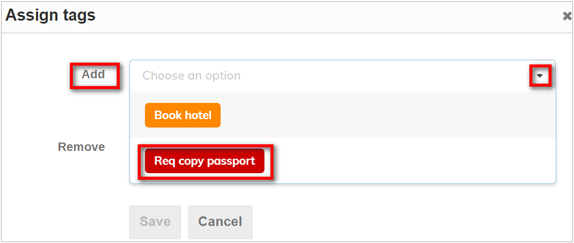
Expand the Add list, select the tag to assign and click Save.
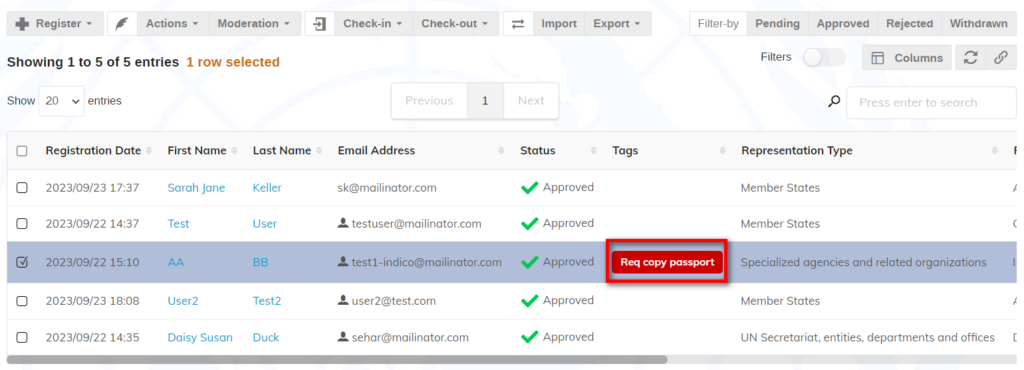
The tag displays for the selected registrant.
You may assign the same tag to more than one registrant at a time by selecting them on the list and following the same steps outlined.
Remove a Tag
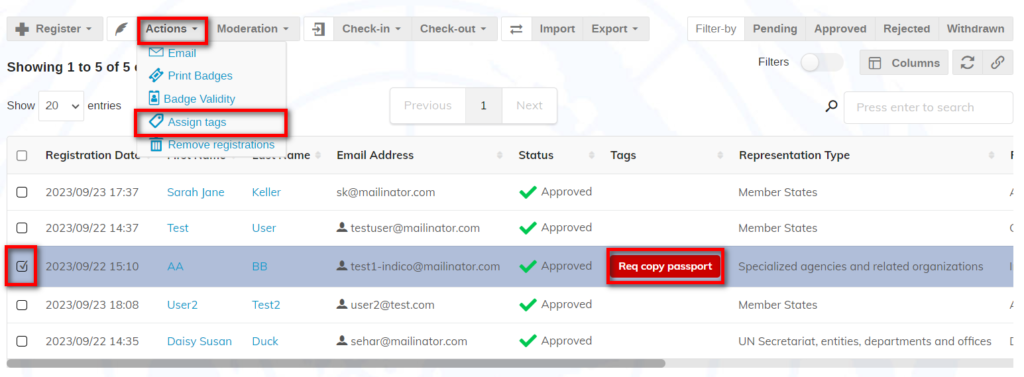
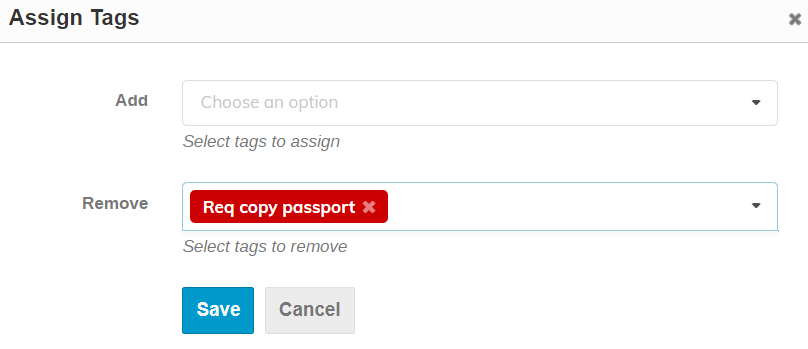
Select a registrant. Expand the Actions menu and select Assign tags.
In the Assign Tags dialogue box, expand the Remove menu and select the tag to remove. Click Save.
The tag is removed.
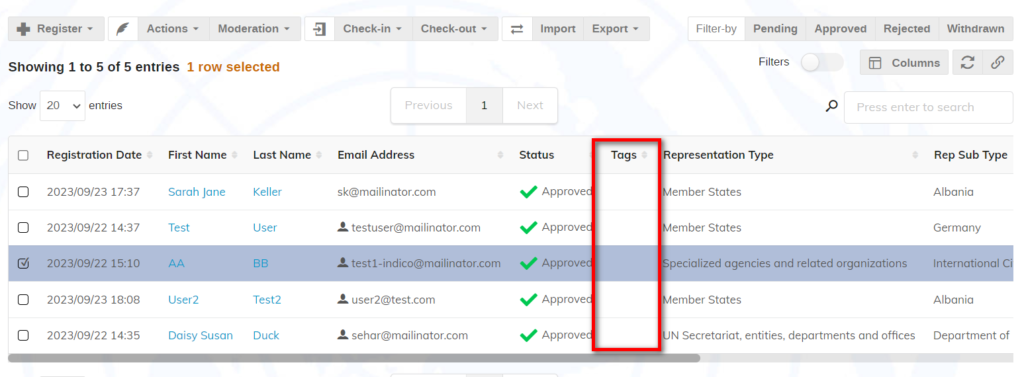
You may remove the same tag from more than one registrant at a time by selecting them on the list and following the same steps outlined.
