Access the management area
Go to https://indico.un.org/accreditation/
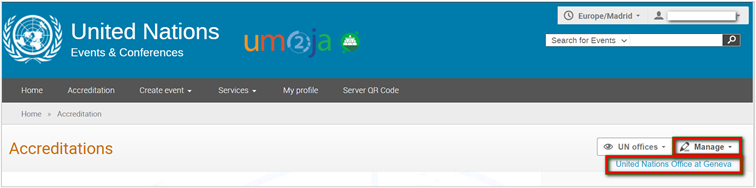
On the right of the screen click Manage and select United Nations Office at Geneva.
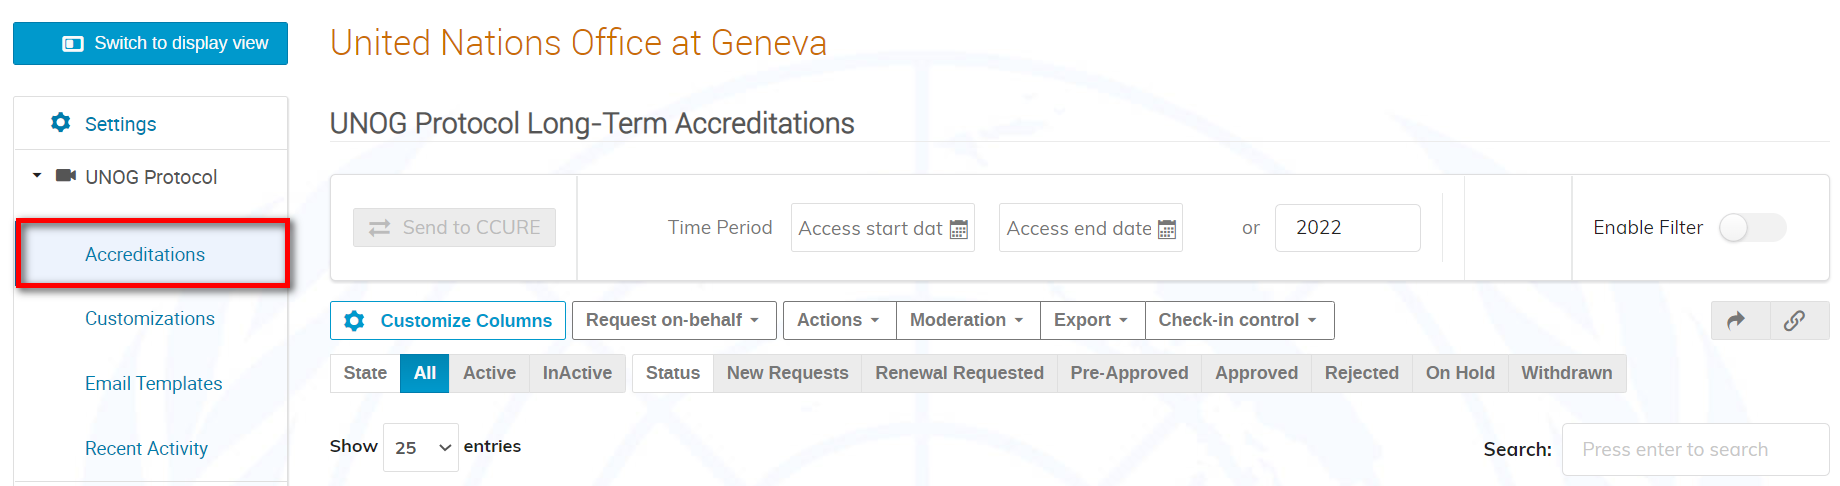
On the menu on the left of the screen, expand your office’s menu and select Accreditations. This displays the list of requests.
Customize columns
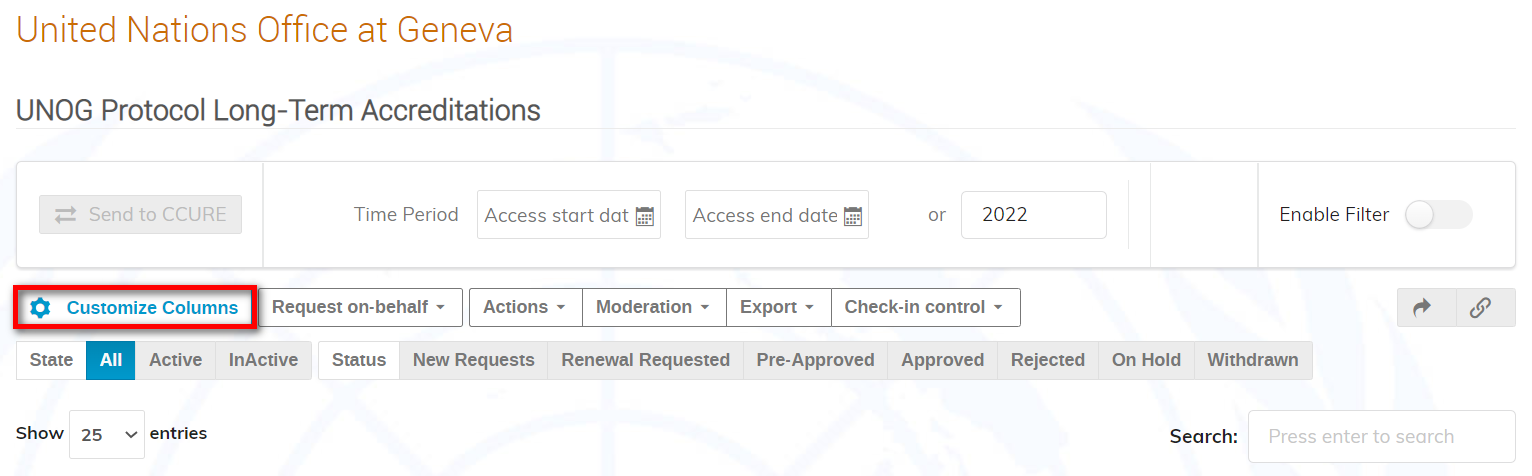
To customize the view of the list click Customize Columns.
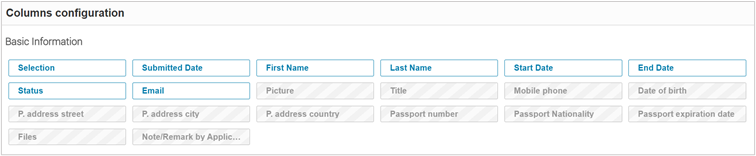
Click any of the options to display/hide the corresponding columns on the request list. Displayed columns on the list view are highlighted in blue, those hidden are greyed out. Click Done to save.
Request on behalf
Should managers need to submit a request on behalf of someone else, click Request on behalf.
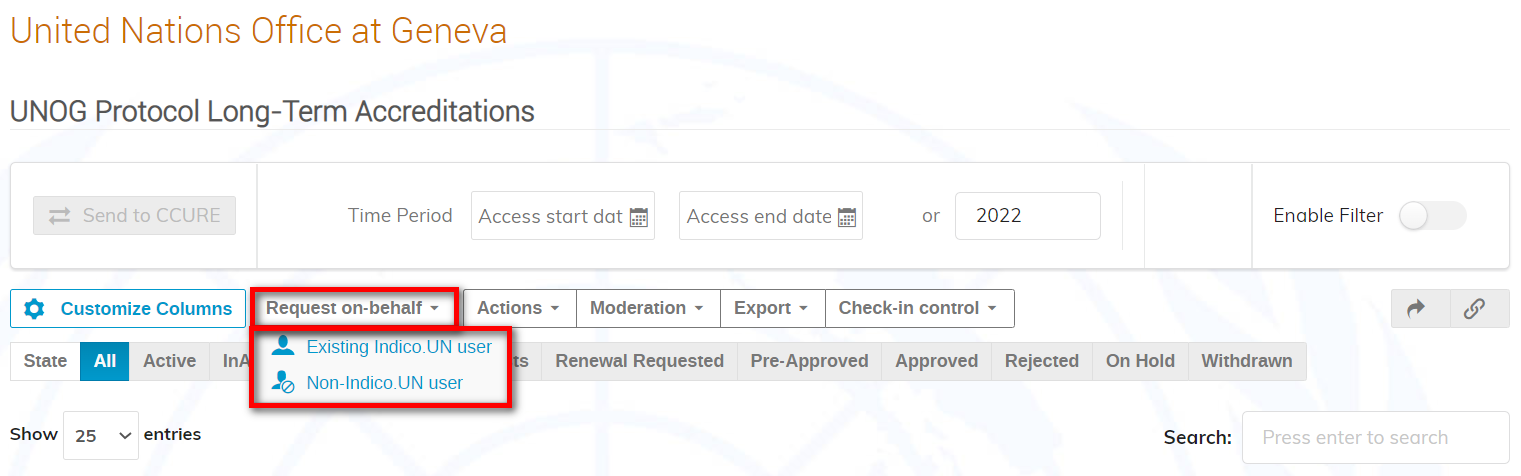
Select Existing Indico UN user first and enter name and/or e-mail to search for the user[1]. Once the user is found, click Choose and proceed to complete the request form, certify, and save.
If the search for an existing user does not yield any results, click Request on behalf and this time select Non-Indico UN user. Proceed to complete the request form, certify, and save.
Actions
To send an e-mail, view the management section, add to a watchlist, or remove one or more requests on the list, select the request(s) and open the Actions menu.

| E-mail:
|
From: By default, email gets sent by a noreply@un.org email address.
Reply to*[2]: By default, the notification email defined in the Customization page is selected. Alternatively expand the drop-down menu and select a different sender. The logged-in user’s e-mail address and other addresses added whilst customizing the notification section are included on the list. CC: Enter the e-mail addresses of those to receive a copy (if any). Enter one e-mail address per line.Subject*: If the e-mail is ad hoc (i.e., no stored template is being used), a subject line must be entered. Stored Templates: Select a template from a drop-down menu. The subject line and the e-mail body are automatically populated (refer to the section Email Templates).E-mail body*: If an existing stored template is not selected, enter a text for the e-mail and, if desired, add placeholders (fields) to personalize the e-mail. Recipients: Self-explanatorySend copy to me: Self-explanatory Preview e–mail: Self-explanatory |
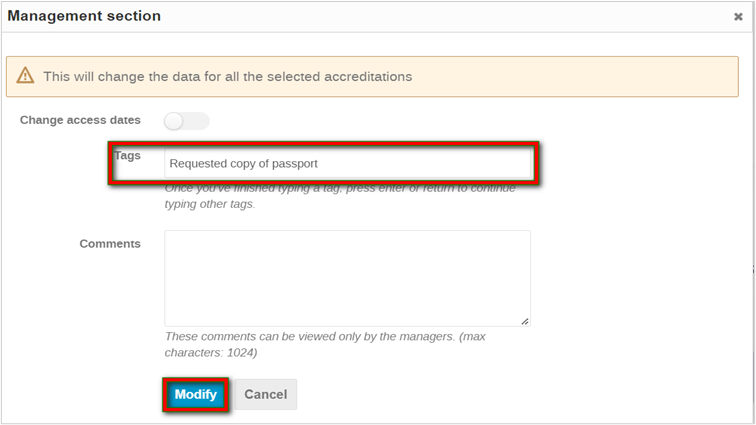
| Management section: | Here you may change badge dates, add tags (post-it) or comments. When finished, click Modify.
Remember, if you select more than one request on the list, any action taken in the Management section will be applied to all selected requests! |
| Add to Watchlist: | Add the selected requestor(s) to a watchlist. An icon is displayed beside his/her name on the full list of requests. |
| Remove | Remove the selected request(s) from the list definitively. |
Moderation
To pre-approve, approve, reject, or place on hold one or more requests, make a selection and open the Moderation menu.
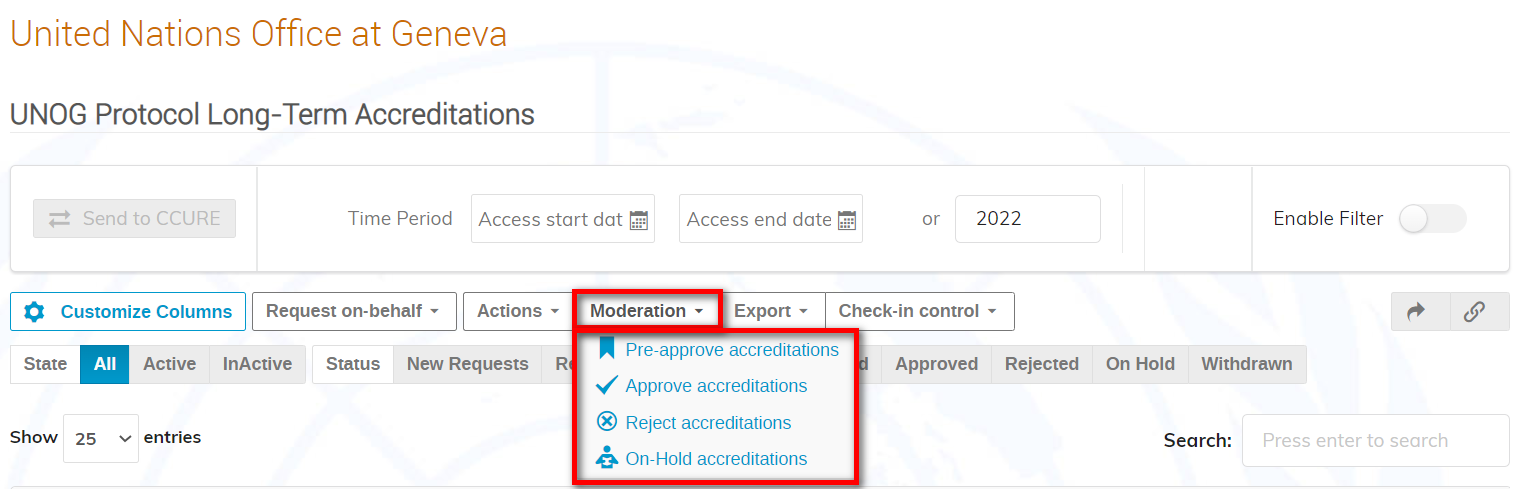
Apply one of the following statuses:
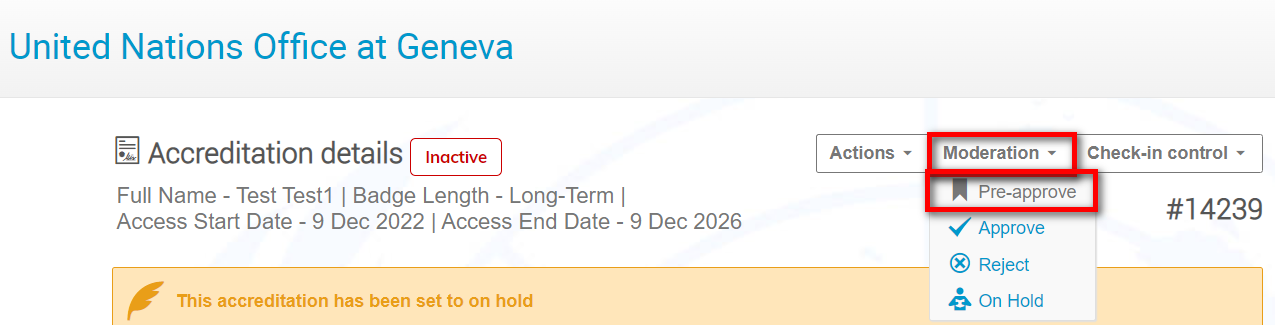
Pre-approve:
Whilst approved in theory, additional clearance is needed before definitive approval is granted. No automatic notifications are sent. Please refer to the section Pre-approve a request.
Approve:
Approval is granted definitively. Automatic notifications are sent. Please refer to the section Approve a request.
Reject:
The request(s) is/are declined. Automatic notifications are sent. Please refer to the section Reject a request.
On Hold:
The request(s) is/are questioned; in this status, the request cannot be modified by the requestor/focal point. No automatic notifications are sent. Please refer to the section Place a request on hold.
Should a change in the status of an already approved or rejected request be needed, then place it on hold first and then apply the new status.
Export
To export to xls data on one or more requests, make a selection and open the Export menu.
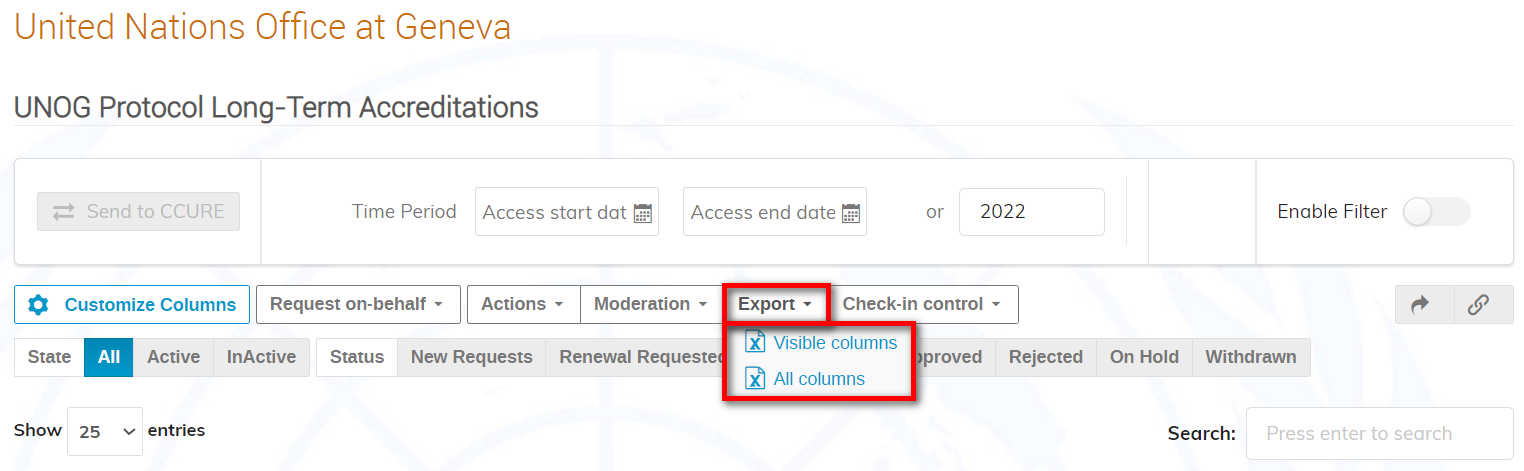
- Visible columns: this exports the data that is visible on-screen within the displayed columns.
- All columns: this exports the data that is visible on-screen within the displayed columns AND within the hidden columns (refer to the section Customize Columns).
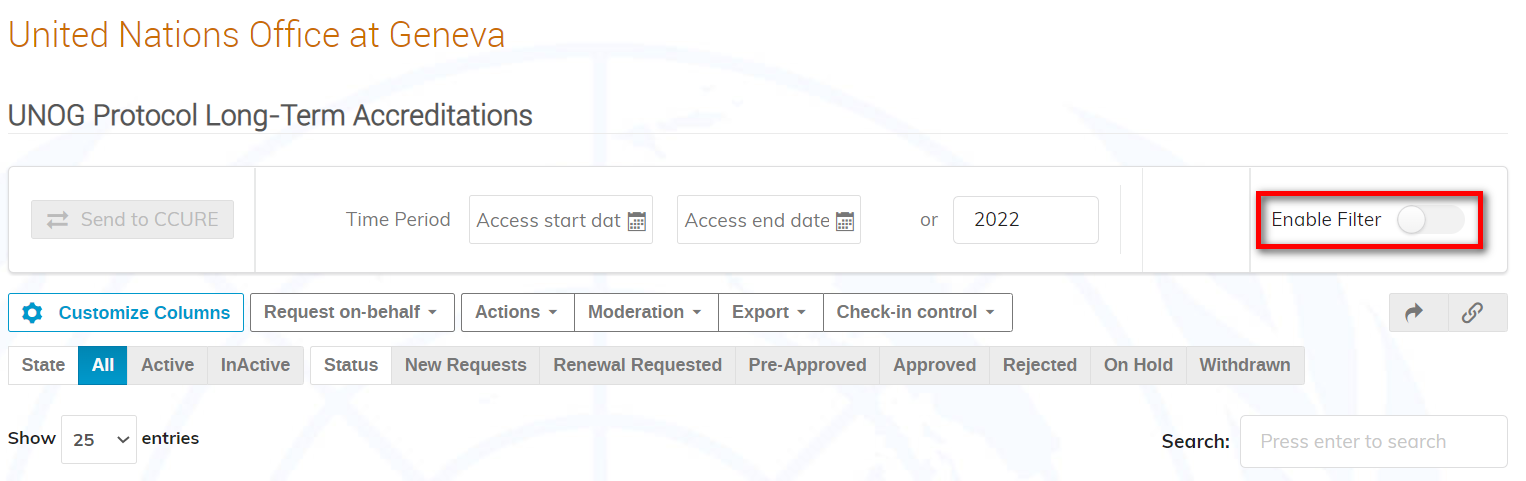
Filters on the request list interface
There are 4 ways to filter out or search for requests on the request list interface.
1.Enable Filter: after enabling the filter, enter an appropriate value e.g., name, status, e-mail, etc. in an empty field above one of the columns in the list and hit the enter/return key to yield results.
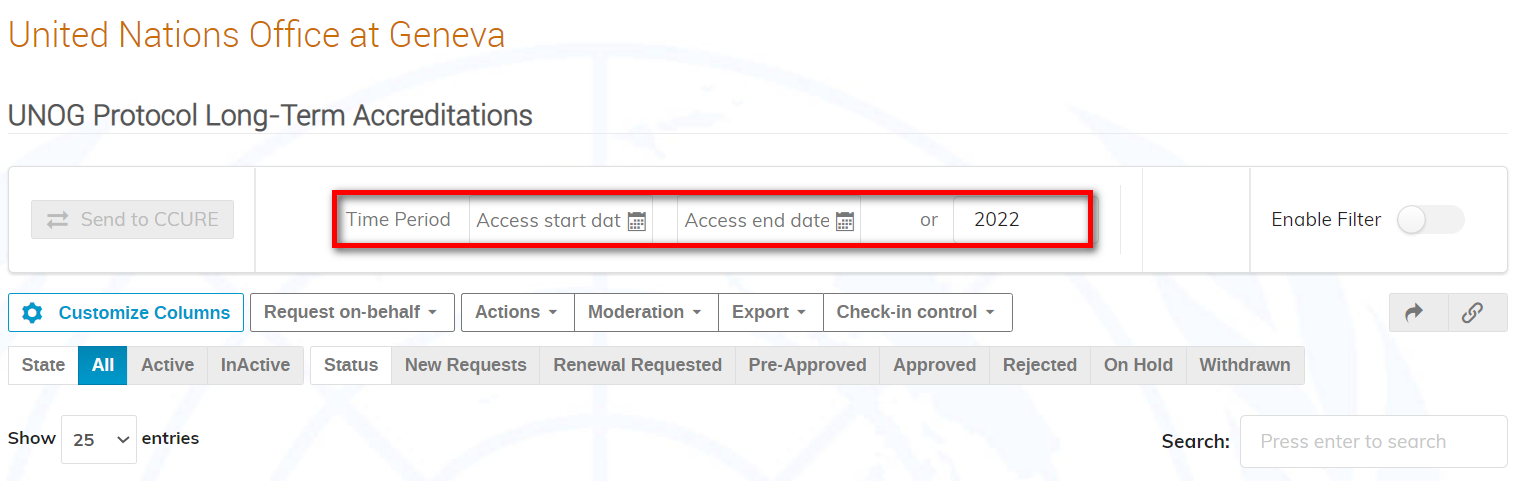
2.Time period: use the Time Period calendars to enter a specific time range or year to yield results.
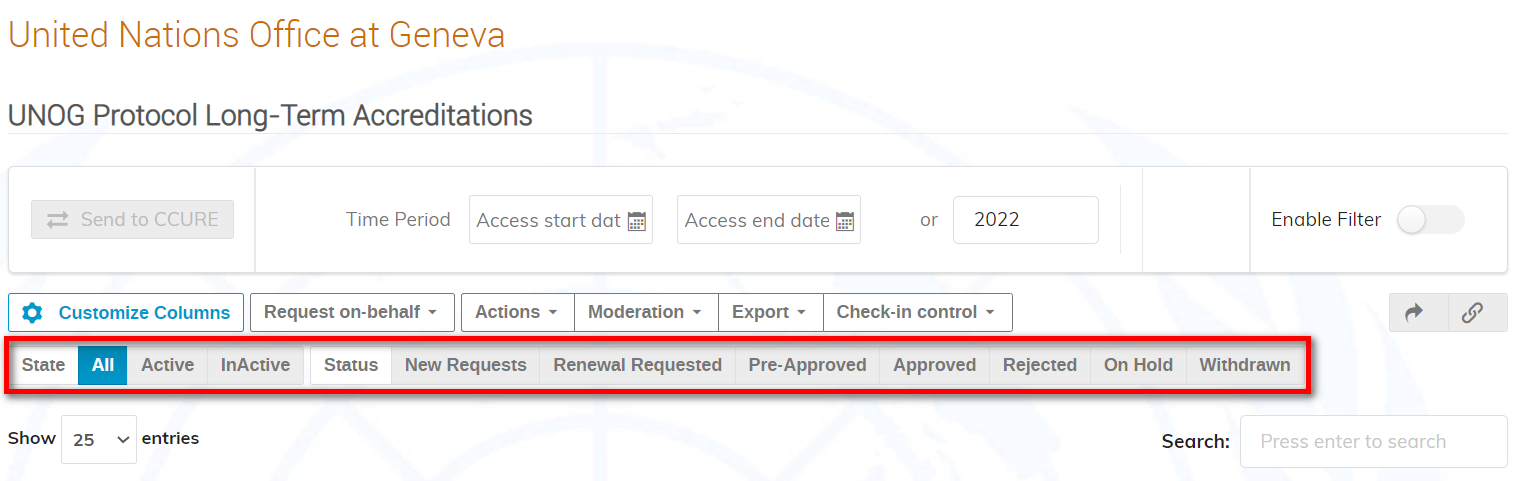
3.State/Status:
For State, Active means requests approved and for which the approval period has not yet expired. Anything else is considered Inactive. So you may filter out based on State.
For Status, you may filter out requests such as by those approved, rejected, withdrawn etc.
A blue background indicates the filter applied.
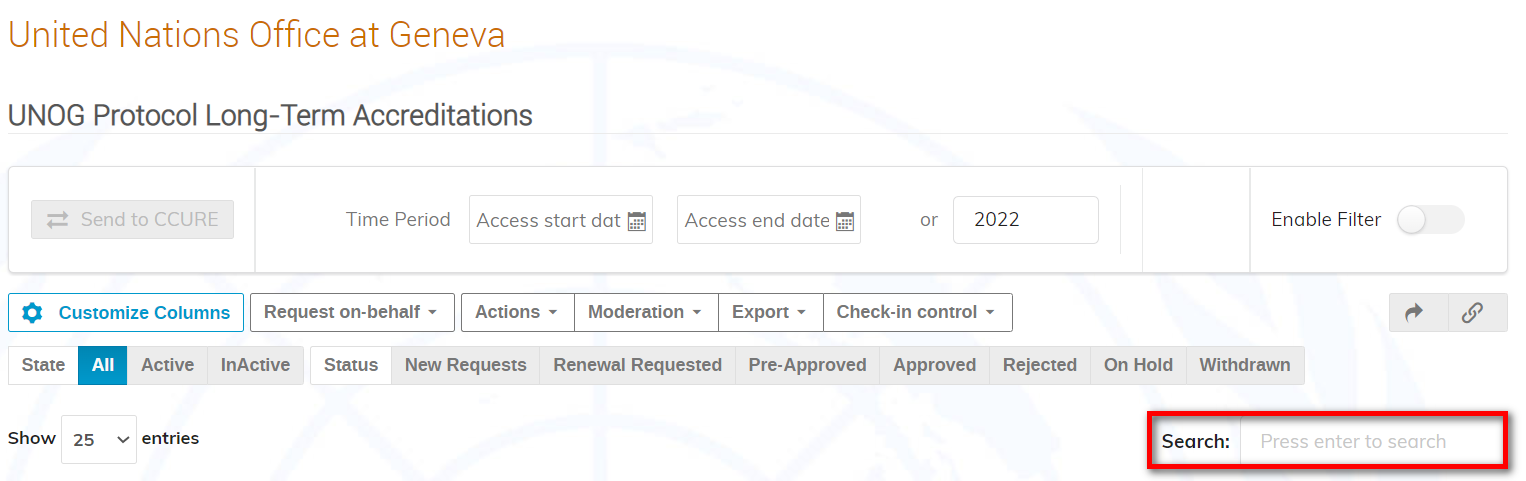
4.Search: enter e.g., a name or e-mail address in the Search field and hit return/enter to yield results.
Filters on a request summary interface
Open a request.
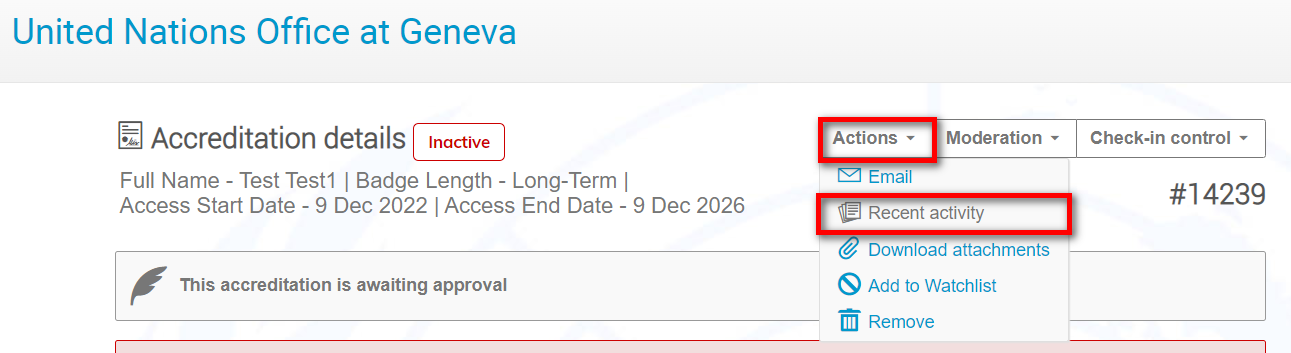
Under Actions: Recent Activity filters may be applied to search for e.g., what activities have been performed within a specific time frame or year for that requestor, or actions taken by a particular manager (i.e., perform a search using the manager’s e-mail), or what e-mails have been sent to the focal point/requestor, etc.
Temporary URL
Once filter or search results are yielded on the list, it is possible to generate a temporary URL which is copied to the clipboard for sharing with e.g., another manager. Use the chain-link button (located beside the reset filters button). When that manager accesses the URL, he/she has the same filtered/search view initially generated.

Access a request summary page
Click a name on the list.

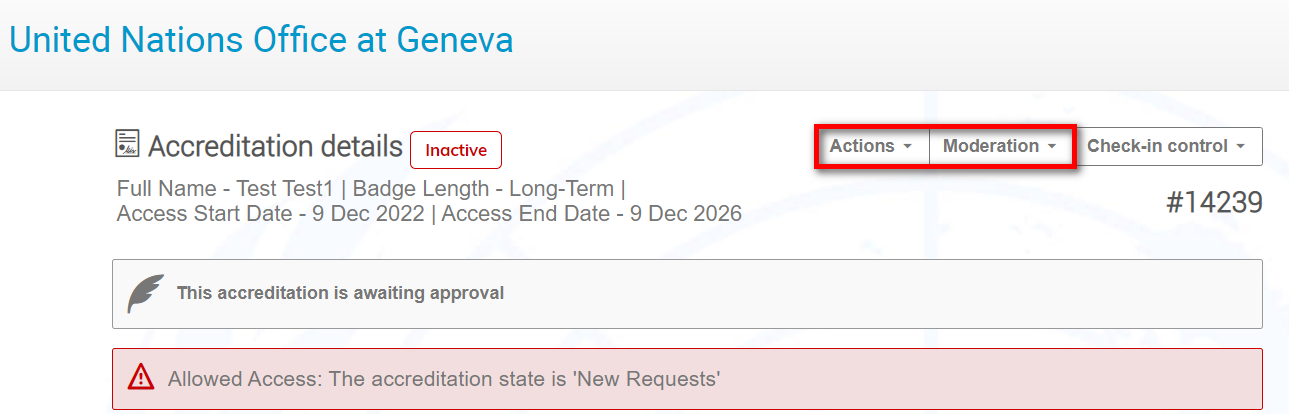
Request summary page
On a request summary page there are 2 menus: Actions and Moderation. These each offer a selection of options to choose from when processing a request.
Actions menu
| E-mail: | From: By default, email gets sent by a noreply@un.org email address.
Reply to*[3]: By default, the notification email defined in the Customization page is selected. Alternatively expand the drop-down menu and select a different sender. The logged-in user’s e-mail address and other addresses added whilst customizing the notification section are included on the list. CC: Enter e-mail addresses of those to receive a copy (one e-mail address per line).Subject*: If the e-mail is ad hoc (i.e., no stored template is being used) a subject line must be entered. Stored Templates: Select a template from a drop-down menu. The subject line and the e-mail body are automatically populated (refer to the page Email Templates).E-mail body*: If a stored template is not selected, enter a text for the e-mail and, if desired, add placeholders to personalize the e-mail. Recipients: Self-explanatorySend copy to me: Self-explanatory Preview e–mail: Self-explanatory |
| Recent activity: | All activities performed in relation to the request being viewed are displayed in a table. It indicates when an activity took place, what the activity was, the type of activity and who performed the activity. |
| Download attachments: | Download documents attached to the request being viewed to a zip file. |
| Add to watchlist: | Add the requestor whose summary page is being viewed to a watchlist. An icon is displayed beside his/her name on the full list of requests. |
| Remove: | The request is deleted definitively. |
Moderation menu
Apply one of the following statuses to the request being viewed:
Pre-approve:
Whilst approved in theory, the request requires further clearance before definitive approval is granted. No automatic notifications are sent (refer to the section below Pre-approve a request).
Approve:
The request is approved definitively. Automatic notifications are sent (refer to the section below Approve a request).
Reject:
The request is declined. Automatic notifications are sent (refer to the section below Reject a request).
On Hold:
The request is questioned; in this status, the request cannot be modified by the requestor/focal point. No automatic notifications are sent (refer to the section below Place a request on hold).
Should a change be needed to the status of an already approved or rejected request, it must be placed on hold first before applying the new status.
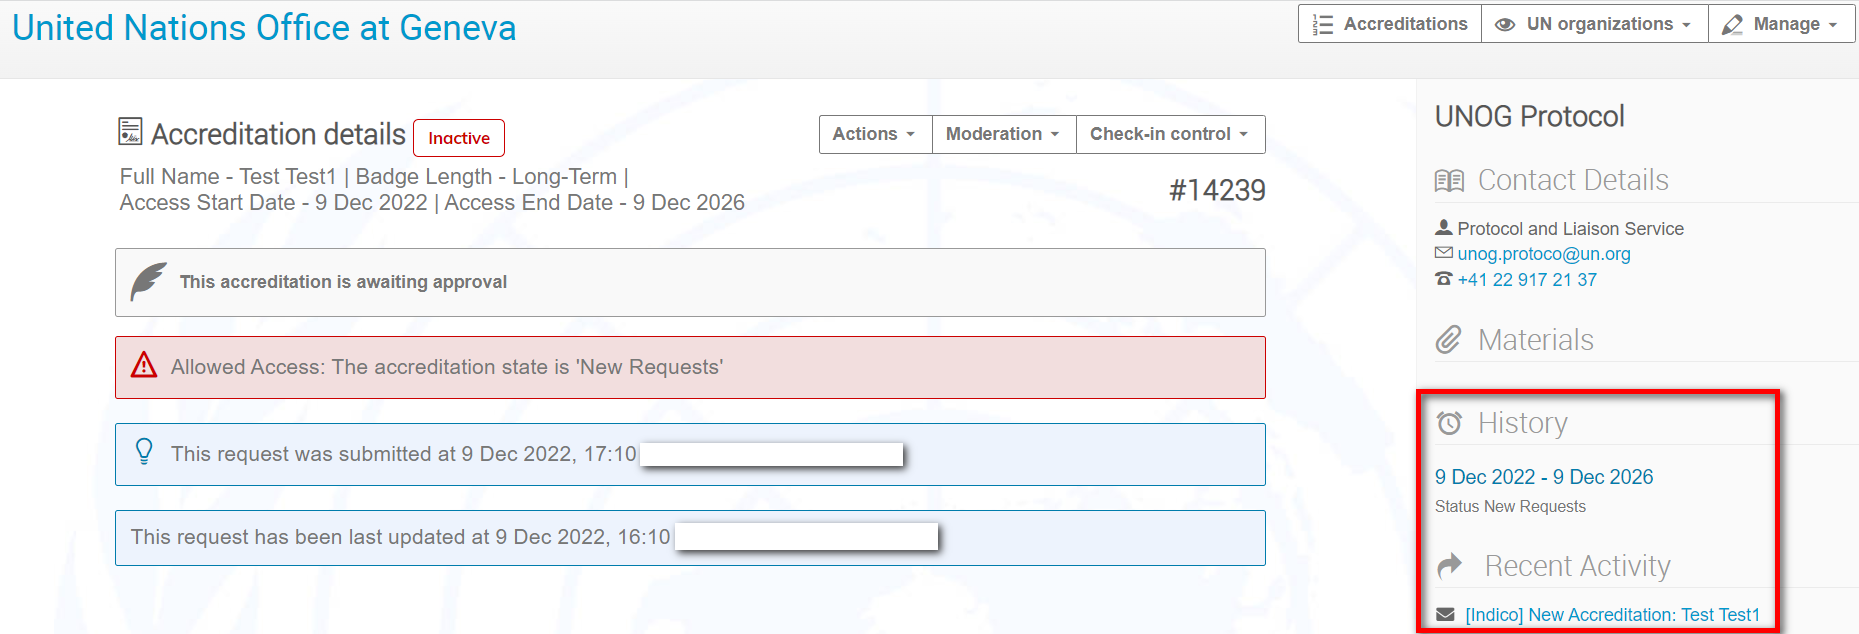
Requestor History and Recent Activity
It is possible to view a log of a requestor’s history and recent activity via a request summary page. See History and/or Recent Activity on the right of the page. Listed are all the requestor’s previous requests along with their status. Click into any of the listings to view.
Modify a request
Managers and Security officers are allowed to modify a request at any time regardless of its status.
Whilst viewing a request summary page, should changes need to be made, click the pencil icon in the relevant section. You will have the option to notify the user of any changes made. When the fields become active make the changes.

After making changes click Save.
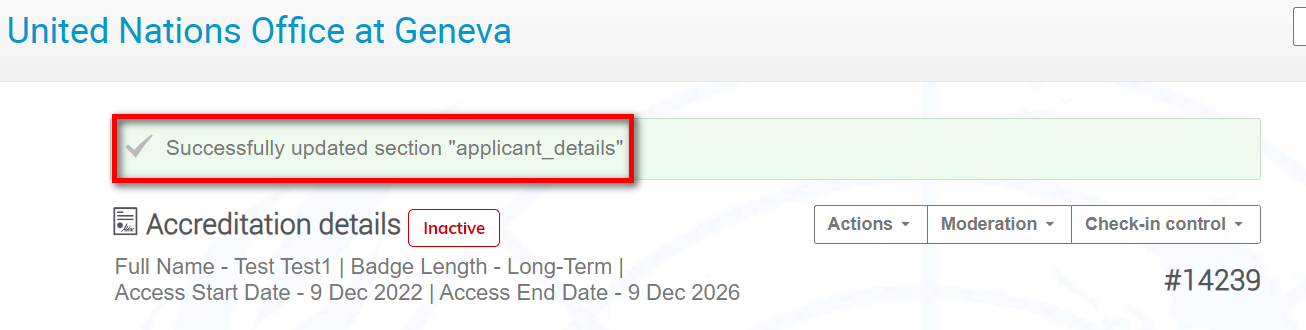
A confirmation message appears on-screen.
Missing or incorrect information on a request
NOTE: Only managers and security officers may modify ON HOLD requests!
If any information is missing or if any document requires updating, managers should not change a request’s status and instead reach out to whomever submitted the request via e-mail. The e-mail should lay out exactly what is required and make clear instruction on what is to be done.
Managers and security officers are strongly advised to carefully review details and attachments on a request before approving/pre-approving. If the request is approved following which it is realized that information is missing or incorrect, then it is a Manager who will have to obtain this information and modify the request him/herself.
To keep note of why the request has not been acted upon, a tag may be placed against the request giving explanation.
Tags
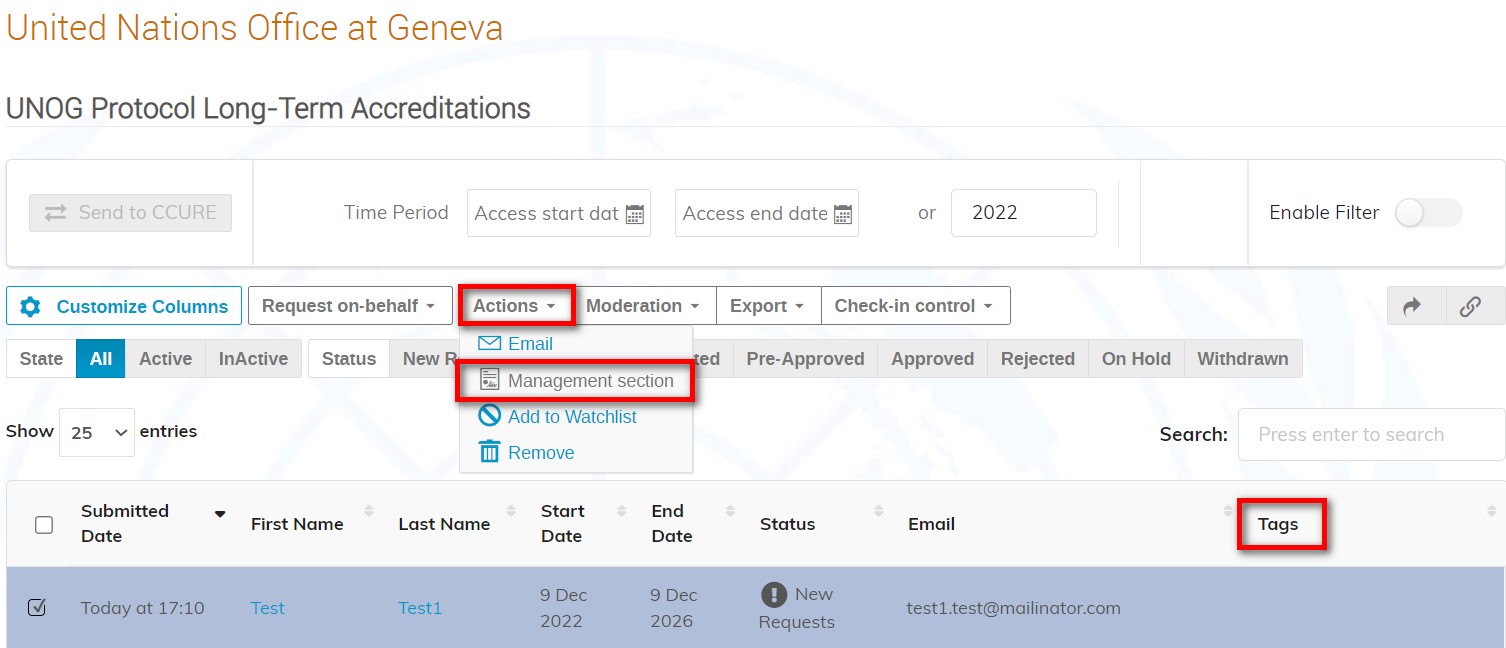
Tags are small notes or reminders added to a request that may be viewed in a column beside it on the list.
First, display the Tags column on the list (refer to the section above Customization Columns).
Select a request on the list.[4] Under the Actions menu select Management section.
In the Management section window, enter the text of the tag. Hit the return/enter key. Click Modify.
The tag appears on the list beside the request.

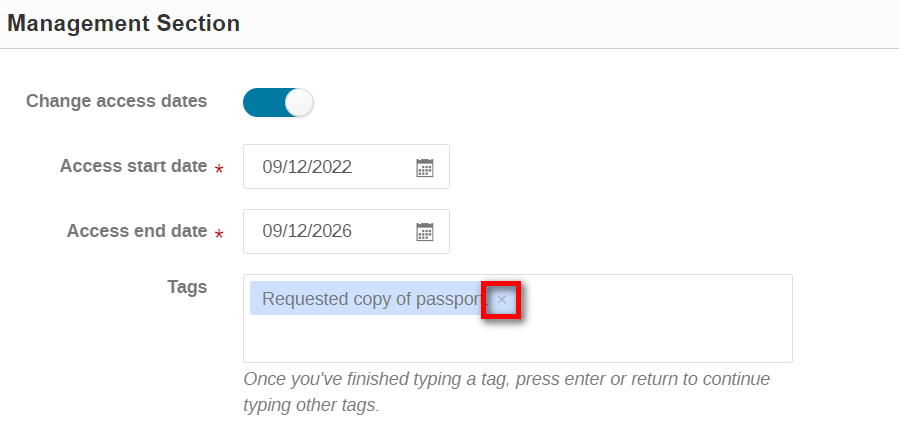
To remove a tag, open the appropriate request summary page and scroll down to the Management Section. Click the pencil icon to activate the section. Click the small x beside the tag to remove. Click Save.
Moderation
Pre-approve a request
Pre-approve is usually used when there are 2-levels of approval. For example, a first manager reviews a request and pre-approves it. Then a second manager reviews the pre-approved request and ultimately approves it.
In the request summary page click Moderation and select Pre-approve.
A message appears on-screen confirming the pre-approval.
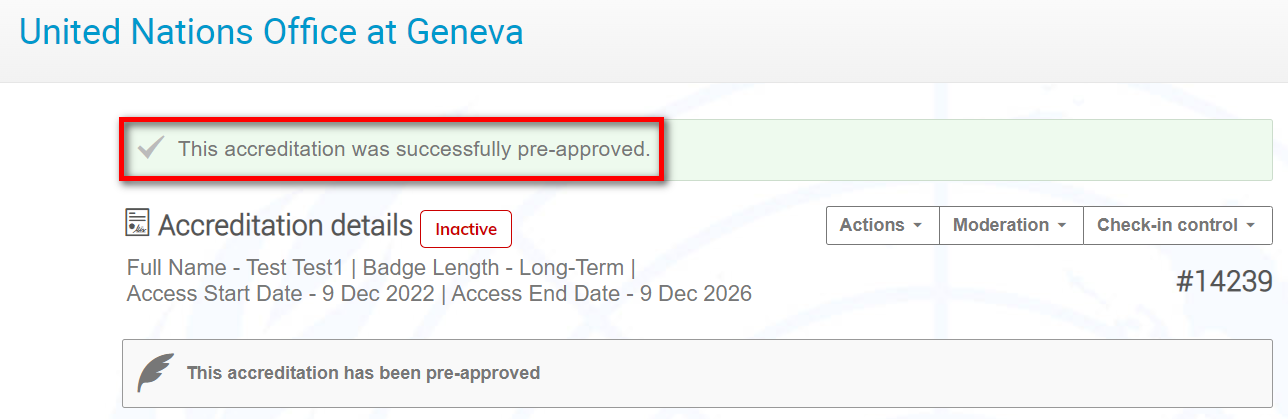
There is no e-mail notification sent when a request is pre-approved.
Upon pre-approval a request may subsequently be:
- approved (by manager/security officer)
- rejected (by manager/security officer)
- placed on hold (by manager/security officer)
- withdrawn (by submitter/focal point)
NOTE: Pre-approved requests may not be sent to C*Cure for printing.
Approve a request
Review the badge request form and ensure that all appropriate documents are attached and that the badge validity dates (refer to the section below Change Badge Validity Dates) are in line with the official request.
In the request summary page click Moderation and select Approve. A message appears on-screen confirming the approval[5].
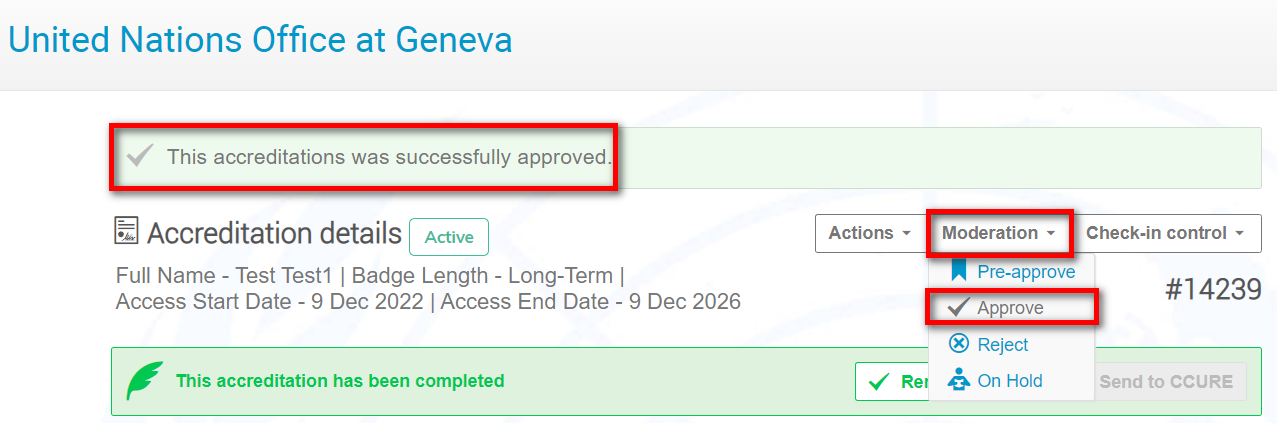
Once approved, an e-mail notification is generated and sent to the requestor and the focal point (if request was submitted by one). If a focal point group has been set up, a notification may enabled to be sent there too.
Upon approval, a request may subsequently be:
- rejected (by manager/security officer but has to be placed on hold first before rejection),
- placed on hold (by manager/security officer)
- renewed (by focal point)
- withdrawn (by requestor/focal point)
NOTE: Approved requests may be sent to C*Cure for printing.
Change badge validity dates
To change badge validity dates, open the appropriate request summary page and scroll down to the Management Section. Click the pencil icon to activate the section.

Enter the required validity dates. These will display on the badge once it is issued. Click Save.
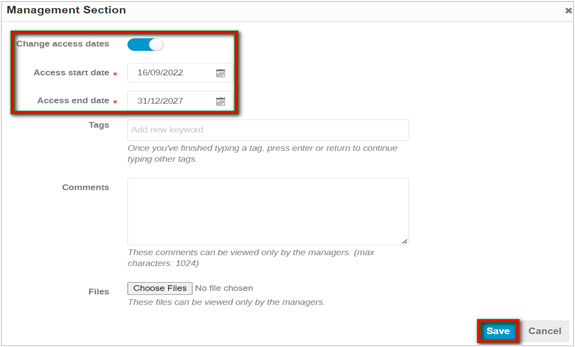
A message confirms the update. Access dates are always displayed under Accreditation details on the request summary page.

Reject a request
Rejection does not allow any further action on a request. A reason should be given for rejection.
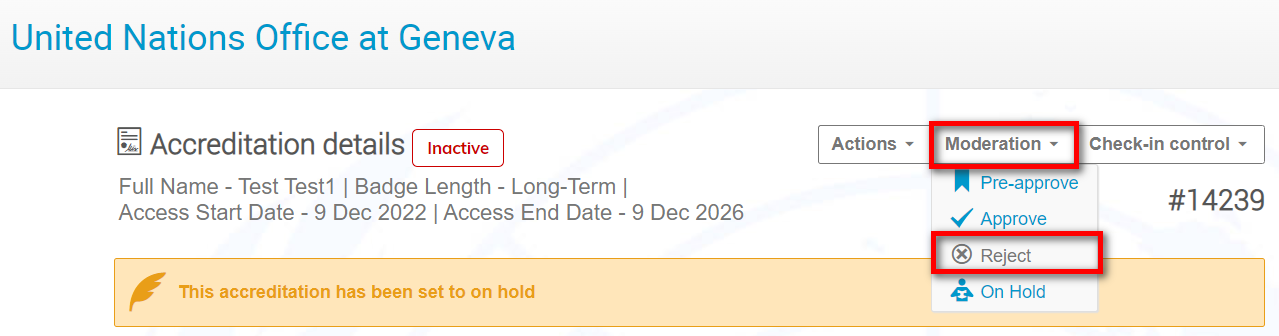
In the request summary page click Moderation and select Reject.
A pop-up window appears on-screen requesting a reason for rejection.
Enter a reason in the field Reason or select a common reason from the Stored reasons list (refer to the page Email Templates). The default rejection e-mail includes a reason for rejection placeholder. If you enable Share reason with user the reason will be included in the e-mail notification.
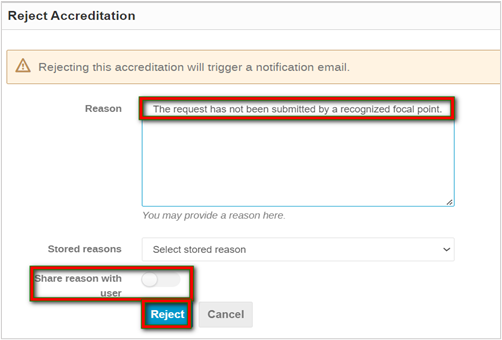
A message appears on-screen confirming the rejection[6].
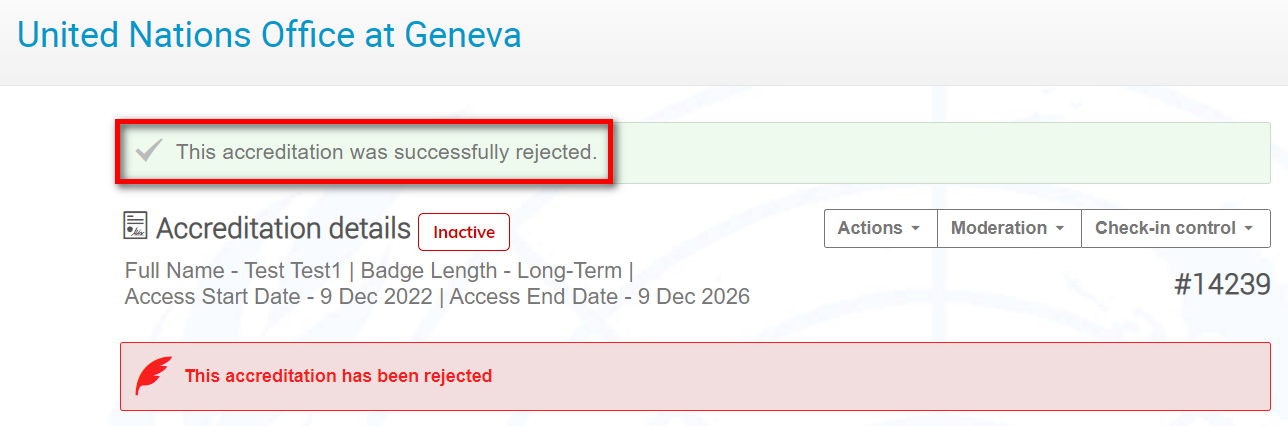
Once rejected, an e-mail notification is generated and sent to the requestor and the focal point (if request was submitted by one). If a focal point group has been set up, a notification may enabled to be sent there too.
Upon rejection, a request may subsequently be:
- placed on hold (by manager/security officer)
NOTE: Rejected requests may not be sent to C*Cure for printing.
Place a request On Hold
When managers want to examine more closely a request, On Hold may be used.
An On Hold request does not allow further modifications to a request.
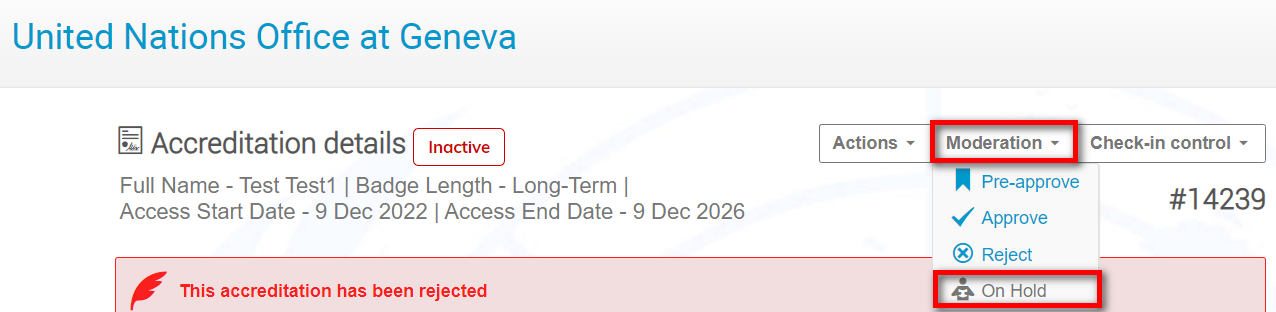
In the request summary page click Moderation and select On Hold.
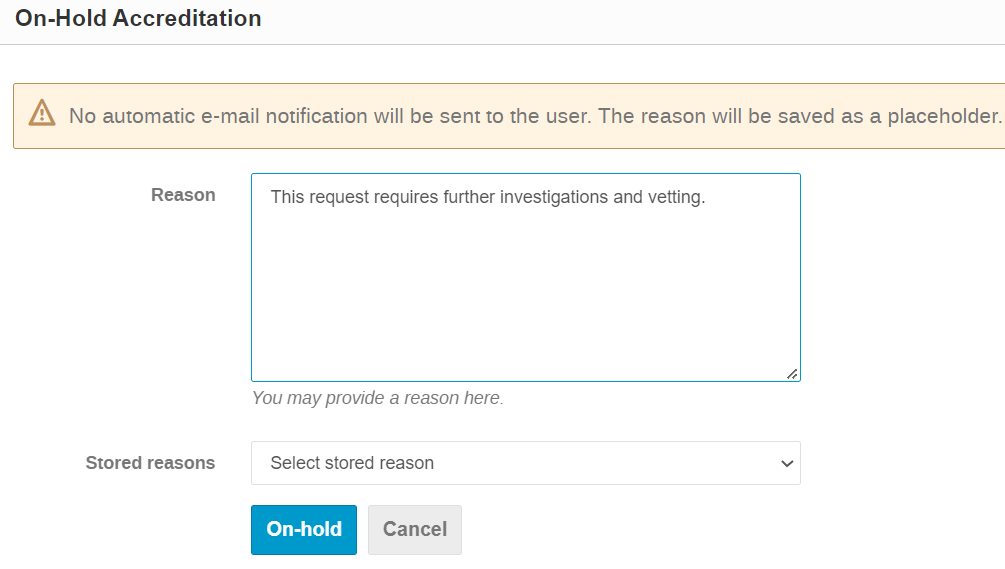
A pop-up window appears on-screen requesting a reason for placing the request On Hold.
Enter a reason in the field Reason or select a stored reason (refer to the page Email Templates).
A message appears on screen confirming the on-hold status[7].
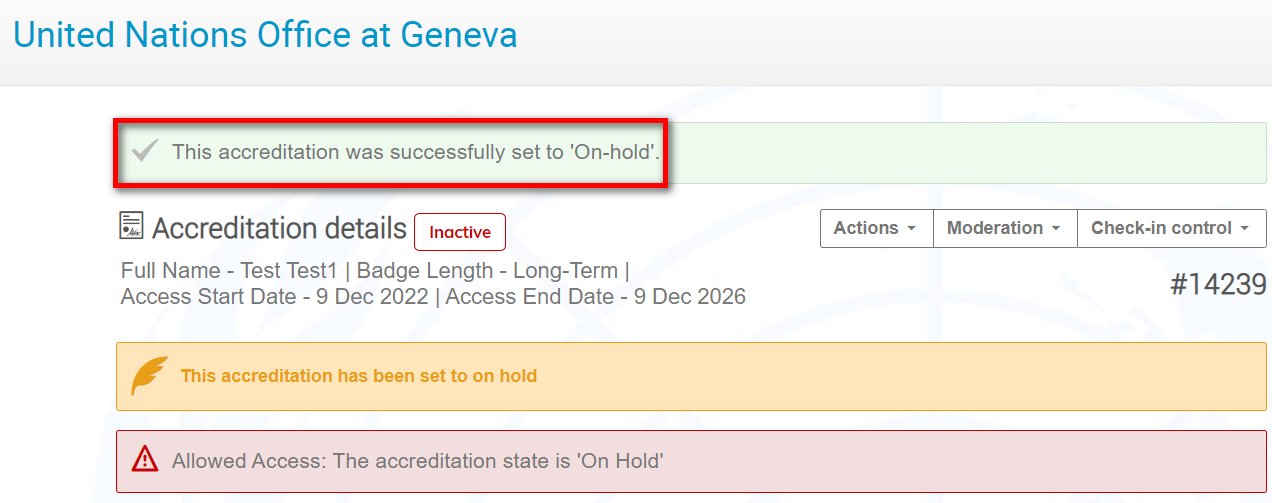
Requests On Hold do not trigger an automatic e-mail notification. An e-mail may be sent manually instead (refer to the section above Actions) and may include the on hold reason (refer to the page Email Templates).
Upon placing a request On Hold, it may subsequently be:
- approved (by manager/security officer)
- pre-approved (by manager/security officer)
- rejected (by manager/security officer)
- withdrawn (by focal point)
NOTE: On Hold requests may not be sent to C*Cure for printing.
Subcontractors/double badging
In situations where a contractor works between two enterprises, each focal point/requestor will nonetheless submit a badge request for the contractor for the duration he/she is representing/working on the enterprise’s behalf.
The contractor first name, last name and birth date in the two applications for enterprise A and B allow the system to identify the contractor and create a full history of the participant.
The complete history of requests will be visible to the Managers and Security.
However, since a focal point/requestor may view only the history of contractors working for his/her enterprise only, they are unable to verify if the contractor continues to have a valid badge with enterprise A whilst commencing work with enterprise B. Therefore, SHP managers and security officers when processing requests should take the necessary action to ensure that one badge is returned. Badge holders should only ever be in possession of one badge at a time.
[1] Only managers may perform a search. Readers may not.
[2] * = mandatory fields.
[3] * = mandatory fields.
[4] You may also create a tag from within the request summary page – scroll to the Management Section.
[5] Approved requests with a current validity are displayed as Active on the request summary page.
[6] Rejected requests are displayed as Inactive on the request summary page.
[7] On hold requests are displayed as Inactive on the request summary page.